Showing posts with label Christina Cameli. Show all posts

Wednesday, February 07, 2024

School Agenda Cover on Free Motion Mavericks

Hi and welcome to week 568 of Free Motion Mavericks. At the end of January I made a school agenda cover for my niece while she was visiting. It was quickly done and it's now keeping her organised in Copenhagen! 😊 

School Agenda Cover


When I told my niece that I make a new agenda cover each year, I saw her eyes light up. Of course she was too polite to ask, so when I figured out that I had enough time to make her one before she went back to school, she was thrilled. She came over for tea and then we looked at fabric. She sure is her parents' daughter - she choose a black gradation with silver triangles. 

Front of my niece's school agenda cover

Back of the school agenda cover - FMQ with triangles

I don't have any progress pictures. Here's a pictures of the lining and then of the open agenda. In the first image you can see that the side panels are made up of the same fabric as the front. However, my fabric wasn't long enough so I pieced it and then added decorative stitches to highlight it.

Side panels with decorative stitching and the lining

The open agenda

Finally, here is a photo of the front and back of the open agenda. The FMQ is easier to see when the flecks of silver are less prominent. For the FMQ, I made a couple of wavy lines and then quilted linked triangles and repeated four times.

School agenda cover open to show the front and back FMQ

I don't usually know much about my fabric but in this case, I bought 6 fat quarters from the same collection. It's called Snippets by Chelsea Design Works for Studio E fabrics. I had purple, pink, red, bleu and teal, but she chose black!

What I learned
  • Since I've made many quilted journal and agenda covers, it was fairly quick to find the information that I required to make it. It's from a Craftsy course, Free Motion Quilted Gifts with Christina Cameli.
  • Over the years, I have written lots of comments in the instruction PDF. These have been very useful. However, I didn't realize how thick an agenda can be compared to most of the journal covers that I've made. I also had to take into account the rings that hold the pages. 
  • This agenda cover was very tight. Since I didn't give it to my niece until the next day, I used a book making trick. I very carefully added clips around the sides of the agenda and then covered it with a few heavy books. This helped the agenda flatten out and stay closed.
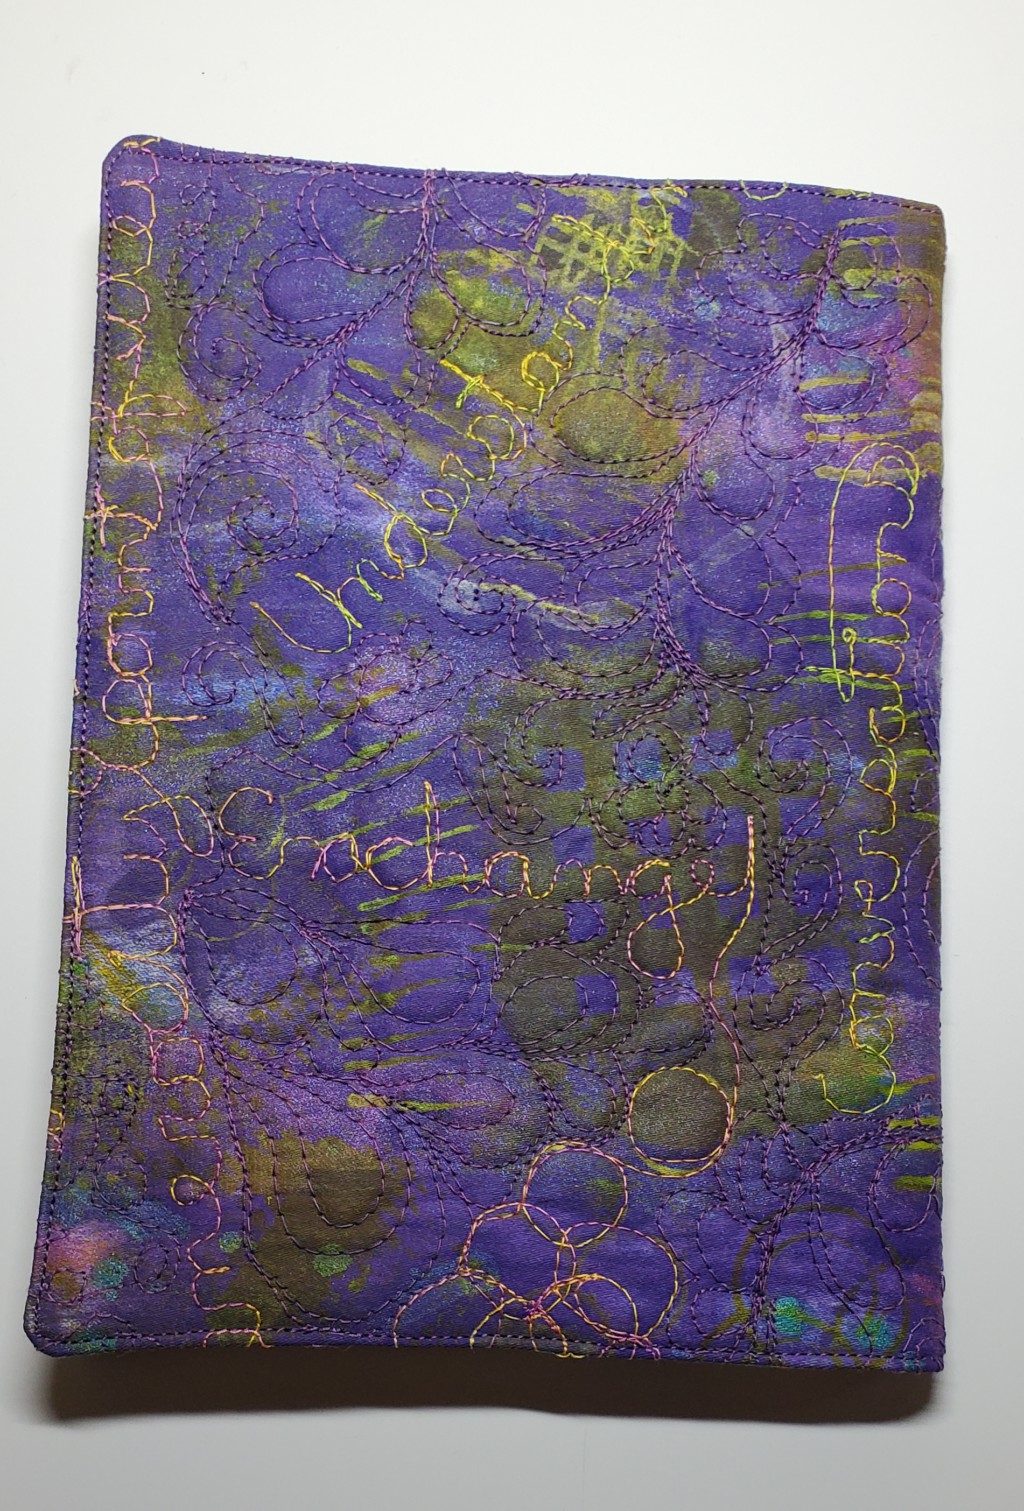
  • When I made my own agenda cover a few days later (PQ 15-2, Sky colours), I made the cover an extra inch wider. It was probably too much and the cover is a little big, but it's not too tight!
  • I find that when I do something that isn't part of the original design, like piecing the side panels, it's good to actually highlight them as a design feature. I was lucky that the piecing of both panels ended up at roughly the same spot. I used a different fancy stitch over each of the the seams.
Related links
Linking parties
I'll be linking up to many fun linking parties. Why not check them out after you've linked up below? Design Wall Monday, Sew & Tell, Midweek Makers, Put your foot down, Off The Wall FridayCan I Get A Whoop Whoop?, Beauties Pageant, Finished (Or Not) Friday, TGIFFPatchwork & Quilts,

Project Details

Free Motion Quilted (FMQ) Agenda Cover
based on "Free Motion Quilted Gifts" on Craftsy
Size: 8" x 9"
Materials: commercial cotton, batting and thread
Technique: free motion quilting and sewing


Free Motion Mavericks


As always, thanks to everyone who linked up!

Donnalee finished reorganizing her stash and closet and found some lovely fabrics that she made into table toppers and runners

Lovely table toppers and runners, made from "found" fabric!

Preeti of Sew Preeti Quilts had two of her quilt patterns published lately. Kashvi was published in Make Modern #55, while Sunshine Garden, is in Annie's Scrap-Happy Quilts. Congrats!

Kashvi - published in Make Modern #55

Sunshine Garden by Preeti
It's now your turn 😎

You are invited to the Inlinkz link party!

Click here to enter

Saturday, January 27, 2024

Project Quilting 15.2 - Sky Colour, Challenge 2

Hi and welcome to my second challenge of Project Quilting (PQ), Season 15. The theme this week is sky colour - "take inspiration from the colours of the sky, but exclude or use less than 10% of the usual blue" (cerulean). Thanks Trish for this great prompt and Kim for hosting! 

A landscape and sky for my agenda cover


For the last few years, one of the first projects that I've made in January is a new agenda cover. They've had many interesting, colourful fabrics that are usually hand-dyed. This year I combined my agenda cover with the PQ Sky Colour challenge.

Front of the agenda cover - landscape with the setting sun

Agenda cover - back

This is the second agenda cover that I've made this week. My niece was in town from Copenhagen and I made her one. I'll be posting about that one on Free Motion Mavericks next week.

I started by creating my landscape over a piece of thin cotton/polyester fabric as a base. I went to my scrap box of batiks and picked out anything that might look good. It didn't take me long to figure out what I wanted and then pin everything down.

Thread used to FMQ the landscape

I let the landscape sit overnight and in the morning, I made minor changes to some of the areas, especially the setting sun. I put a batting under the piece and started free motion quilting (FMQ). Nothing fancy, just following the landscape to give it texture and to stabilize it. I didn't use any fusible webbing and I did get a couple of minor puckers, but nothing serious 😊

A closer look at the finished FMQ piece

Time to trim the landscape and make an agenda cover

Once it was all FMQ and the pictures above were taken, I started putting the agenda cover together. Because I had just made one for my niece, I didn't even look at the instructions and just went for it. I'm thrilled to say that I only made one minor mistake which was easily fixed.

I used a fun and colourful batik to make the side panels, and a dark blue ocean fabric to make the backing. I also remembered to affix my small fabric name tag to the front.

The side panels of the agenda cover

Here is what the landscape looks like. The purple at the top looks more like navy blue, but it really is dark purple. 

Agenda cover made with a landscape and
wonderful sky colours

What I learned
  • I did add a thin strip of cerulean blue (I love that word and I'm working on learning to spell it!) at the beginning of the sky. I wanted a clear separation between the sky from the landscape. I'm quite sure that this is less than 10%.
  • I love colourful skies and I'm quite happy with my sunset. 
  • It was fun to work with batik fabrics - it had been a while.
  • The FMQ went well and when the fabric moved and created an open space I just added more fabric on top! That's why I love art quilts - they are so flexible!
  • I also didn't like one of the areas of the sky that I had FMQ - so I did the same thing and added a strip of fabric to cover it up 😊
  • I made this agenda cover slightly larger than it should have been. This worked out perfectly since it's quite thick. This avoided the problem that I had making my niece's agenda cover.
  • As usual, I managed to forget about Project Quilting until Wednesday, when I read Sandra's post that she added to my linking party. Who needs a week when a couple of days will do? I now have a reminder on my phone for the Sunday that the next PQ challenge starts...and not just when it's due.
  • Are you wondering why I actually have an agenda? So am I...but I do love to write notes about the smaller projects that I'm working on, instead of in a sketchbook that I may or may not find....yes, I admit it - I have a huge information management problem. 😁
Related links
Linking parties
I'll be linking up to many fun linking parties, particularly Project Quilting 15.2. You'll want to check out what others are making. Free Motion Mavericks, Off The Wall Friday, Put your foot down, Patchwork & Quilts, Can I Get A Whoop Whoop?, Beauties Pageant, 15 Minutes to Stitch 2024, Oh Scrap!

Project details

Agenda cover - made for the Project Quilting 15.2 Sky Colour
Size: 8" x 9½"
Materials: base commercial fabric, batik fabric, thread, batting
Techniques: Free Motion Quilting (FMQ)


Thursday, November 09, 2023

FMQ the T-shirt Quilt on Free Motion Mavericks

Welcome to week 455 of Free Motion Mavericks. November has brought us snow in Ottawa. It probably won't stay but it is pretty. I guess that it's time to put away the patio furniture! I hope that you're enjoying whatever fall is bringing you.😊 

FMQ the first three blocks


Here is a quick look at the blocks. Nothing fancy but fun to quilt!

The first block with snowflakes on the t-shirt

Second block quilted with the Ablaze design

Third block quilted with meandering loops, notes and musical symbols

I'll start at the beginning, after having made the flimsy. I had been procrastinating because the next part was sandwiching the quilt...and you know how I love that (heavy irony here, if you don't know me!) To get motivated, I did a search about FMQ (free motion quilting) a t-shirt quilt. This is what I found out: 
  • Since none of the t-shirts have heavy plastic logos, I would be able to stitch inside the t-shirts.
  • T-shirt quilts can be quilted as densely or as lightly as you want - it depends on preference and the batting.
  • T-shirt quilts tend to be very heavy and hot because of the weight of the t-shirts, batting and backing. I can attest to that - my nephew's quilt weighed a ton (but he's a big strapping man)!
  • The t-shirt quilt doesn't have to include batting. That was a mmm... moment. Since my niece is rather tall and slim with a small frame, did she really want a quilt that would be, for her, like a weighted blanket?
  • So I asked her. Did she want a hot and heavy quilt, or a light and cooler one? 
  • Cool and light it is! Yeah!!!! 
This meant that I didn't have to add batting to the quilt. Since the quilt was on the banister at the top of the stairs, I put the backing face down on the banister and then added the quilt. Sometimes I am brilliant 😎 It helped that I had lots of time to think about it while procrastinating.😁😂

This weekend I sandwiched the quilt over our dining room table. Without the batting, it was the quickest quilt sandwich that I've ever made. Yeah!

Stitch-in-the-ditch


Choosing thread to quilt this queen size quilt is important. From experience, I know that my machine prefers light, synthetic thread over cotton or even polyester. I do have a few cones of Superior Threads' Bottom Line, so that's where I started.

Since my stash of Bottom Line cones is rather small, I looked for other thread that could work. I found 5 colours of Glide thread and 4 colours of Madeira thread. I guess that there's no need to go shopping!😌

Glide, Madeira and Superior Threads' Bottom line cones

I used the tan coloured Bottom Line thread to stitch-in-the-ditch. From the back, it's perfect...but not so great when I miss the ditch in the front! No worries, it won't show once everything is quilted. 😊

Texture at the back, but very little extra colour

Block one


I chose the lovely skiing t-shirt as my first one to FMQ because it was sort of in the middle of the quilt and I have a lovely blue cone of Bottom Line. Since I kept the tan coloured thread in the bottom, this was a great way to see if my tension was good enough to use different colours on the top and bobbin...and it was!

The skiing t-shirt with the light blue sashing

Since my favourite FMQ design is the meandering flower, I stitched this on the side sashing. At the top and bottom, I used another favourite, what I call the "l" and "j" design. Designs that use our writing motor muscles are often the easiest to do since we learned to write a long time ago! 😊

Inside the t-shirt, I added meandering snow flakes and a few lines for the skiing. I used the light blue thread - it almost looks white against the red background. What a fun first block!

A colourful snowy first block!

Block two


After the first block, I did a lot of research using my own FMQ books to find some appropriate designs. The Ablaze design is from Christina Cameli's Step-by-step Free-Motion Quilting. I was looking for something that would connotate speed - so why not a line of fire? I used the little extra row at the top right of the block to FMQ the Ablaze design for the first time.

First image of the Ablaze design

If you click on the first image to make it larger, you might notice what I did when I was cropping the images. I had forgotten to FMQ most of the space between the two crests. Oops!

Finishing up the Ablaze design

The first quilted block of crests


Block three


I decided to quilt the front and back of the Lukas Graham t-shirt next. From the Terrific T-shirt Quilts book, I had found a meandering loops and notes FMQ design. I added a few other musical symbols and quilted all of these in the navy sashing of both t-shirt pieces. In the inside of the t-shirts, I used a white thread to outline the name and then go around the t-shirt and the frames. For the front of the t-shirt I also stitched around the girl's t-shirt.  

The front of the t-shirt with stitching inside the t-shirt and sashing

The 2 parts of the Lucas Graham t-shirt and
the first crest block

What I learned
  • It's different doing FMQ without the batting in the quilt. It's not bad, just different. 
  • I could have done some easier quilting but what's the fun in that? It is good to know however that I can do minimal quilting in the t-shirts if I have to.
  • I didn't do much FMQ for the back of the Lucas Graham t-shirt. I don't really like how it lies. The next time that I'm using white thread, I'll add a few lines of stitching between the locations to help it lie flat.
  • My tension was perfect when the bobbin and top thread were both Bottom line. It was a little more finicky when the top thread was a dark Madeira. I haven't used the dark Glide thread but I'm sure that it won't be any fussier. 😊
  • I'm still having trouble when I FMQ from right to left for more than a few inches. It just seems to be something that my machine doesn't like! At least I was able to turn the quilt around and stitch from bottom to top instead. I just have to remember this.
  • Sometimes my studio is very hot, especially on a sunny afternoon - so I now wear my shorts to quilt. That really helps and I get to keep wearing shorts!
Related links
Linking parties
I'll be linking up to many fun linking parties. Why not check them out after linking up below? Monday Design Wall, Sew & Tell, Midweek Makers, Put your foot down, Finished (or Not) FridayCan I Get a Whoop Whoop?, Peacock Party, Patchwork & Quilts, Oh Scrap!, 15 Minutes to Stitch 2023

Free Motion Mavericks

Last week The Joyful Quilter linked up with her ABC (Table) SCRAPS Challenge for November. Look at those light neutral colours and curves! She also managed to include the "Q" and "T" in the mini. Can you spot them? It took me a while.😁

The Joyful Quilter's light neutral mini

It's now your turn.

You are invited to the Inlinkz link party!

Click here to enter

Thursday, July 20, 2023

A Gorgeous Red Basket on Free Motion Mavericks

Welcome to week 440 of Free Motion Mavericks. I hope that you've had a good week. I haven't done much until yesterday but I now have a pretty red basket to share with you.

Making A Gorgeous Red Basket


When I made the microwave fabric bowls in March for the Table Scraps Challenge, I promised one to a friend who said that they were so pretty that she wouldn't use it in the microwave because they might get dirty. Rather, she would use it as a bowl or holder. So, remembering this, I decided to make a red basket for July's challenge. Since this month's letters are A and G, I'm going for A Gorgeous Red Basket 😊

A Gorgeous Red Basket

I've made these types of baskets before, following Christina Cameli's Free-Motion Quilted Gifts course on Craftsy. It's also the course that I follow to make the agenda covers.

I started off with a red piece of hand-dyed fabric from my friend Elaine's scraps. I quilted it with triangles and match stick FMQ. It got pretty tedious by the end, but I did it! I tried to do this in a meditative manner but eventually gave up on that and just listened to music!

FMQ alternate triangles with match stick stitches

Of course I managed to cut the fabric for the quilted piece too small, so I made the lining just slightly smaller than the outside. While I was FMQ, I remembered that the project was supposed to be red and scrappy, so I made this very scrappy lining.

A scrappy red lining

Putting the basket together went fairly well. I'm happy to say that my stitch ripper was not overused!

Here are a few pictures from last night.

You can peek in and see the lining!

Here's another peek!

How appropriate - Mr. Coffee Bean is getting a medium roast in the sun!

Here are some garden pictures from this morning 😎

Hen and a basket!

A Gorgeous Red Basket and White Roses!


Same flowers and basket from two different angles!


What I learned
  • I was trying to be so careful about cutting things the right size but somehow, I cut the outside fabric too small. At least it wasn't difficult to adjust the lining to fit.
  • The basket is more square than it should be, but that's ok!
  • I used a lovely variegated pink and yellow thread to do the match stick FMQ. I think that it looks great.
  • The red scraps had been pulled for another project but there are enough for both projects! It was nice that they had been sorted already. Most of my scraps are by colour, but in batches - so that red is with yellow, orange and pink. I don't have enough scraps of each colour for their own basket (except for blue!). 
  • The outside strip is from some great coffee bean fabric that I bought a while back. I have it in peach and blue. It's soooo cute!
  • I didn't make a strap for this basket since it was so small, but I just re-read my posts and discovered that I had used a lanyard under the fabric to make the handles. What a great idea. 
Related links
Linking parties
I'll be linking up to many fun linking parties. Why not check them out? Also, remember to link up below! I'll be linking up to the ABC Table Scraps Challenge as soon as the link opens up. Design Wall Monday, Sew & Tell, Midweek Makers, Put your foot down, Needle & Thread Thursday, Off The Wall Friday, Finished (or Not) Friday, Peacock Party, TGIFFPatchwork & Quilts, Oh Scrap!, 15 minutes to stitch 2023


Free Motion Mavericks

Last week Donnalee did some meandering FMQ with invisible thread. It worked out really well. Way to go Donnalee!

Check out Donnalee's meandering FMQ with invisible thread!


Gail has made another gorgeous Hugs and Kisses quilt - this one for charity. She used her 3″ and 4″ Cupid rulers to quilt it. It's so full of loving hearts!

Gail's Hugs and Kisses quilt for charity

Anja or Anja Quilts made a lovely mini to swap with one of her guild mates. Isn't it cute with that fussy cut tiger? She made it specifically to practice her FMQ skills. Way to go!

Anja's Mini quilt to practice FMQ

It's now your turn.

You are invited to the Inlinkz link party!

Click here to enter

Tuesday, May 31, 2022

Conversations Guest Book on Free Motion Mavericks

Welcome to week 384 of Free Motion Mavericks. I'm sorry that I'm a couple of days early, but I will run it until next Tuesday night. The last couple of weeks have mostly been about the Conversations exhibition and today is not an exception. I'm not getting ahead on my son's Version 2.0 quilt - but he's been very understanding 😊 

Another Journal Cover

A few weeks ago I volunteered to create a journal cover for our Conversations exhibit's guest book. I started early, but just finished it about an hour ago! No worries, the deadline is only tomorrow but it was my May One Monthly Goal (OMG) and I'm not missing out on bragging rights!

Conversations Guest Book

The Beginning

A few years ago, I experimented with sun printing. I don't think that I ever wrote a post about it. It wasn't a total flop, I did get one good print out of 3. I learned that you really need to use translucent paint - the opaque stuff just won't take. I did keep my pieces because you never know!

Original fabric with paint

After making my last journal cover, I realised how much the FMQ adds to the fabric, so I thought that I would give this rather messy fabric a shot. I added mostly yellow paint (Colour Vie pigment system) to the mix using forks, circles, etc. I was only going for additional splashes of colour that wasn't purple! I really like how the yellow turned into a lovely gold. It also brought out the little splashes of teal from the original piece.

Painting over the original fabric

I then started FMQ. I drew a straight line and wrote Conversations more or less in the middle of what would be the front cover. See I did learn from my last project and planned the layout a little more.

I listed a bunch of words that had to do with conversations - dialogue, listening, connection, genuine, point-of-view, exchange, generosity, understanding, humility, and talking. I FMQ these in variegated thread, all with some pink and/or yellow in them. 

Some of the FMQ words


Adding fun filler by following the design
or making it up as I go along!

Putting it together

I cut the fabric a few days ago but I've been so tired that I was really stressed about cutting it properly. I had visions of having to start all over....not fun! Anyway, it all went well. Last night I chose my lining fabric, something light to contrast with the dark cover. After work, I started sewing while watching each step of Christina Cameli's Free Motion Quilted Gifts on Craftsy. 

Here's the lovely lining fabric

Here are some pictures of the whole thing 😊


The back and front of the cover


The back of the journal cover

I remembered to add my name tag.

The inside back with my tag.


Conversations Guest Book Mosaic


What I learned
  • I'm really glad that I made a journal cover not long ago for my quilting agenda. I remembered my lessons learned and applied them to this project. Awesome 😎
  • Having played with paint not that long ago also helped me with adding the paint to this one. I felt a little more confident, especially knowing that the free motion quilting would add so much.
  • Planning where the FMQ should go on my journal cover made it easier to quilt and the results are worth it.
  • It's been along time since I've been this busy with creating and blogging. I really appreciate all of your wonderful comments in the last few weeks. I've read them all and will answer them all soon. Thanks for your patience. 
Related links

Linking parties


Project details


Conversations Guest Book Cover
8" x 6" 
Materials: Original fabric painted with Pebeo Setacolor (opaque) and then marked with Colour Vie, variegated thread
Techniques: painting, mark making, FMQ and sewing


Free Motion Mavericks

Thanks to all for linking up. If you haven't seen Gail's Triangle Tricks Challenge quilt with her lovely FMQ stars, you really should visit her site.

Quilting Gail's Triangle Tricks Challenge

It's now your turn!

You are invited to the Inlinkz link party!

Click here to enter