Showing posts with label ribbon. Show all posts

Monday, July 24, 2023

A handmade album covered with Glimpses of Antarctica

I still haven't written my posts about our Antarctica trip, but I'm one step closer - I finished my stitched piece "Glimpses of Antarctica" and used it as the cover for an album to hold a few photos, postcards, etc.  

Glimpses of Antarctica


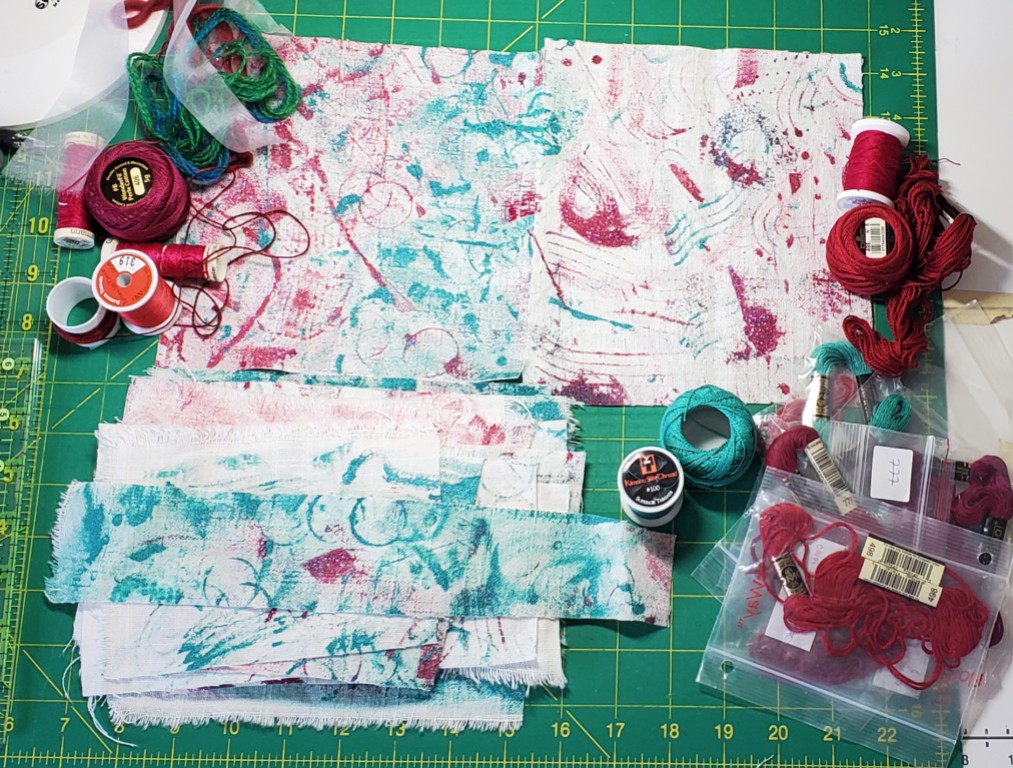
In February, I wrote a post about a few of my ongoing hand-stitching projects. The first was a mark-making and stitching project with Gwen Hadley through TextileArtist.org (see Related links below). I made marks on two pieces of white cotton - the first was heavily marked while the second was not.

I cut up the pieces and put them back together again with lots of stitching. Sometimes it was fun, other times a little tedious and even frustrating, but I must admit that I love the finished piece.

Finished Antarctica piece mounted
at the front of a handmade album

Here are a few process pictures.

Heavily marked cloth

Lightly marked cloth   

Both pieces cut up to be re-sewn together

Stitching on the ship


While I was on vacation, I stitched quite a bit and started adding shapes and images from Antarctica. There is a penguin, whales, birds, fish, and whales blowing water (see Related links). I quickly learned that good lighting was more important than ambiance when stitching on the ship. I also had a few interesting conversations with my fellow passengers. 

A glimpse of the water

Finding a well lit bar 😊

Finishing it at home


The frustrating part came at the end of May. I didn't know if it was finished and I also wasn't in love with it. A friend gave me the perfect ribbon to add to the bottom of the piece. I added an embroidered a scene from the rocks and glaciers of the South Shetland Islands. 

Almost finished

At the very top, a scene of glaciers and rock formations
from the South Shetland Islands

The stitched scene above is a compilation of a few photos, but this is the general image.

Glaciers and rock formations in the South Shetland Islands

Making the album


In the archives of the Handmade book club, I found the perfect book - the hard cover stab bound album. The pages of the album are not folded in half, so it's easier to make a larger book. Instead, the pages are folder about an inch at the top, so that the album won't bulge after you add things to the pages.

You can see the additional fabric sewn around the piece

The album cover is made of book board covered by a book cloth. I added strips of batik fabric around the Glimpses of Antarctica piece to make it large enough to cover the board and to go over the edges by about 1". I then covered the fabric with fusible web and then ironed a very large piece of copy paper to it. This is then glued onto the book board. I did the same thing for the back, except that it was a lovely piece of batik with penguins on it.

Additional fabric is sewn around the penguins to fit the book board

There is less fabric around the back cover. The end sheet
is craft paper with vintage postcards.

Wider fabric behind the front cover with a craft paper end sheet

Photo shoot and next steps


I went into the garden yesterday and took some lovely pictures.

A very sturdy album

Album among the flowers and chicken!

The back, from a better perspective

  • This is what I've done do far: 
    • I went through my souvenirs and have organised them by days and regions travelled.
    • All of my photos have been transferred from my phone to my computer.
  • This is what's next:
    • Pick a very few pictures from each day or region to print and add to the album.
    • Write my posts!
I had Poppy keeping me company in the back yard today 😊

Poppy basking in the sun

What I learned
  • I managed to put the front cover on backwards so that the album opens up from the wrong side. I could say that it reflects the other hemisphere....but who are we kidding - I'm just accuracy challenged.
  • I have no idea why the penguins are not facing the correct way on the back cover. I only noticed after it had been glued to the board. Again...see point above!
  • I mentioned that I didn't really like Glimpses of Antarctica. It was like I was seeing the trees and not the forest. Once I placed it on the cover of the album, I knew that it was good! It really does look like a map. I had lost sight of that.
  • I know that it's going to take a while to get my trip posts done, but I do hope that it's sooner rather than later. 

Related links

Linking parties

Project details

Handmade album covered with Glimpses of Antarctica (hard cover stab bound album)
Size: 13¾ x 11"
Album: book board, craft paper end sheets, thick craft paper signatures (pages)
Glimpses of Antarctica: fabric paint on cotton, embroidery, appliqué, embroidery floss, Mouliné étoile embroidery thread, perle cotton, silk thread, organza, yarn, ribbon


Wednesday, October 05, 2022

Exciting News

Hi, you may remember that I taught a Meditation Stitching course this summer. It was a great experience, and I'll be repeating it (in French!) at the end of November.

Getting Ready

I know that I have a lot of time to get ready, and that this is probably another great way of procrastinating, but I've prepared this lovely piece to show at the course.


Joyful

There isn't anything very about doing mindful stitching. It's all about taking the time to be creative, to set a few parameters around what you want to do, and then enjoying the meditative process of stitching. I believe that doing this process regularly can help to keep you grounded, bring relaxation and encourage creativity. 

As an exercise, I used my wonky block sample to see if I could create four different blocks from each quarter of the cut-up block.

I cut this sample block into 4 to make meditation blocks

Here is my stitching process. I chose various fabrics that might go with the base block and then started stitching. My favourite stitches are the running stitch, cross stitch, blanket stitch, chain stitch and a variation of the fly/feather stitch. These embroidery stitches are about as basic as it gets. 

Adding fabrics and colour

Using stitches to add texture
(and more colour!)


At some point I trim the block, although I do like having things sticking out when I can. 😊 Here are close ups of the blocks. 

First block

You can see that all of the bases started with the wonky star but evolved pass that! I love using different thread, yarn, and fabrics like hand-dyed cheese cloth, organza, felt, linen and velour. The flowers were cut from one of my favourite top. 

Second block

I love how I can use up little bitsy pieces of some of my favourite fabric. Now I have an excuse to keep all of my tiny scraps if they are interesting :-)

Block 3

I also added beads on this last one. It looks so elegant! 

Block 4

Creating a 4 drop hanging


One of the things that I want to include in my class are options for how these wonderful mindful stitching blocks can be displayed. 

While reading a "new-to-me" Creative Embroidery book by Dilys Blackburn, I found a wonderful example of a drop hanging that is used to display embroidery pieces. The link to the book is in Related links below.

Since my finished blocks were roughly 4" square, I decided to make the finished hanging square 4½". I started by cutting my white fabric in 5" squares. I placed 2 squares facing each other, then added the square of batting on top. With my walking foot, I stitched with a ¼" seam all around the square except for a 1½" opening on one side. I then trimmed the batting and then turned the square inside out through the hole. In the image of my first block, I left a 3" space to turn the square inside out. This was a little too large, so I reduced the openings of the other blocks.

Opening pinned before stitching

I repined that opening so that the square would be more square. Then I top stitched around the whole square, as close to the edge as possible. After the four blocks were finished, I attached some wide white ribbon.
Back of the hanging

To prevent fraying, I cut the ribbon with pinking shears and the added a ½" fusible web and folded it over. I made sure that the ribbon was long enough so that I could sew a single layer over the original top stitched line. After I was all done, I just hand-stitched the edges down to stop them from flopping over.

I attached the meditation blocks with a couple of beads on the top corners. I want the students to be able to look at the blocks as much as possible. This also allows me to switch out the blocks if I wanted to.

I then went on a photo shoot in the back yard. 

Twix and Taffy (my brother's dogs) exploring the area.

A close up with the tree and sun as backdrop 

The picture that I took at night because I was so impatient 😊


What I learned

  • I do find it difficult to know when to stop embellishing these beauties. Often it's when I've had enough 😊
  • I've been reading about blogging and decided that I need to up my game by taking better photos. It's not always easy because I usually finish a piece in the evening and then have to wait for the next day to take good pictures.
  • I got so caught up with making the hanging that I only took one process picture. If I make another, it might be a good subject for a tutorial!

Related links

Linking parties

I'm linking up this post to many fun linking parties. Why not see what's going on in the quilty universe? Put your foot down, Slow Sunday StitchingMonday Making, Oh Scrap!Peacock Party, TGIFFBeauties PageantOff The Wall FridayPatchwork & Quilts

Project Details


Joyful     
23" x 4½"
Materials: Meditation embroideries with wool, thread, felt, lace, hand-dyed fabric scraps, tule, beads, etc.


Sunday, January 19, 2020

More slow stitching, meditation style

I've been doing some more slow stitching. This time with a little meditative quiet time added in.

Slow stitching, meditation style

In the October/November edition of the Quilting Arts magazine, I read an article that spoke to me. The article, Stitch Meditation, by Liz Kettle talked about meditating while stitching, since she found that regular meditation didn't really work for her. Wow! I've been trying to meditate and find it one of the most painful things to do. Quieting the mind is really difficult, except when I'm immersed in my quilting, or playing with code! Since I rarely play with code except occasionally at work, my best bet is probably stitching and quilting.
First four meditation squares
In the article, Liz says that she only has a few guidelines and one rule.

  • Avoid planning - choose your supplies quickly (less than 5 minutes)
  • Minimize distractions (for the meditative part)
  • The one rule: don't undo stitches - there is no need for perfection
Liz does talk about doing this every day, but I'm staying away from that since I don't need another commitment that I won't follow. I do it when I remember and when I feel like it. I trust that I will remember to do it when I need it.

I've cut up a bunch of 4" flannel squares from a dearly loved flannel blanket. I use this as my backing. For the fabric on top, I have a small bag of my hand-dyed fabrics. They are really perfect for this.

Angles is made with hand-dyed fabrics and stitched with several weights of thread and embroidery floss.
Angles
Green & Blue with bark includes an unraveling piece of dyed fabric, thread and wool, and two pieces of hand-dyed that friends though was bark .
Green & Blue with bark 
The moon in Pretty moon and star was made of pieces of felt from the backing of my daughter's embroidery pieces. The stones are pretty pink quartz and the star is a Murano glass bead bought in Venice last year.
Pretty moon and star 
For Shining rose, I cut up a hand-dyed cloth napkin that I had embroidered a very long time ago. I added shiny ribbon that I save up when I buy things. I also used some metallic floss.
Shining rose
Last week I started this piece. I was in the mood for ruffles so I just took another fabric piece and stitched it on. I used sewing thread, embroidery floss and even did some chain stitch. I like the look of the feather charm.

Orange, pink and a feather
If you've seen my Flower of Life piece for the first challenge of Project Quilting last week, you will see where I got the inspiration for this block. Now that I know about the Flower of Life, I see it everywhere! In this block, I did some embroidery, including fly stitches without tails, and added beads.
Web in the Flower of Life
What I learned

  • Making these blocks is really meditative.
  • I often start with fabric or embellishment from a recent project.
  • I really don't plan what I'll be doing. If I have some embellishments that I want to use, I'll make the block around them. Otherwise I take a piece of fabric and start stitching.
  • Some of the blocks were finished the same day I started them, but others took a couple of days working on them. They usually take about an hour to make.
  • I don't name the blocks when I make them - but it's fun to name them when I'm saving the images on the computer.
What's on this week
  • Today Challenge 11.2 of Project Quilting came out - something about Team Colours. I'll have to think about that since nothing jumps to mind. The project is due next Sunday morning - so I'll be working on that this week!
  • Join me on Tuesday for my post in The Winter Blues Blog Hop hosted by Carla of Creatin' in the Sticks. My piece is done but I have to figure out how to bind it....????
  • I will also be hosting Free Motion Mavericks on Thursday - so come back and link up your post - it doesn't have to be FMQ.
Related links
Linking parties
I'll be linking this post to many fun link-ups. Follow me and see what's going on out there in Winter Quilt Land! Slow Sunday Stitching, Oh Scrap!, Off The Wall Friday, Monday Making, Design Wall Monday, What I Made Monday, Free Motion Mavericks with Muv, Colour and Inspiration Tuesday, To-do Tuesday,