
Hi! I hope that you had a wonderful Canadian Thanksgiving. I took a train trip to the middle of the Northern Ontario bush - it was amazing. 😊 Since coming home, I've also made two pocket journals as part of the October Challenge for the Handmade Book Club.
Quilty Recycled Pocket Journal
This first journal is all made of recycled materials. Our teacher encouraged us to make a sample signature (the pages that make up the book) out of photocopy paper. I had so much fun with it that I made 4 signatures and finally a cover.
 |
| A very quilty pocket journal |
The images are all from the Connecting Threads' October catalogue. The whole thing is covered with lovely quilting fabric and quilts. You can see the pockets on both side. The book is also reversible.
 |
| Second signature with pockets |
This is the cover of the journal as well as the last two signatures. It was so much fun cutting and gluing the images on those pages.
 |
| Many quilty lovelies on these pages. |
The journal also stands up. These are the front four signatures.
 |
| Front four signatures of the journal |
These are the signatures as seen from the back of the journal.
 |
| Back four signatures of the journal |
Finally, this is the back cover.
 |
| Back cover of the recycled pocket journal |
Bookmark Pocket Journal
This second pocket journal will be a birthday gift for my husband. He really liked my Accordion book with pockets and I said that I would make him one for his bookmarks.
 |
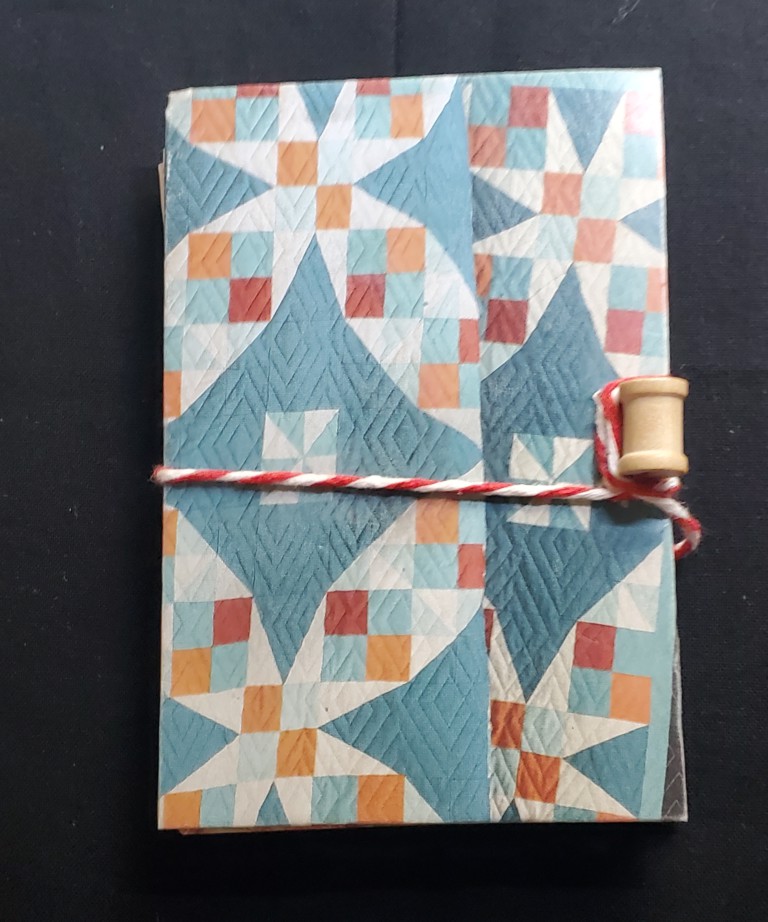
| Front of the Bookmark Pocket Journal |
I made this one using scrapbooking paper. It was a little thicker than recommended but it turned out well.
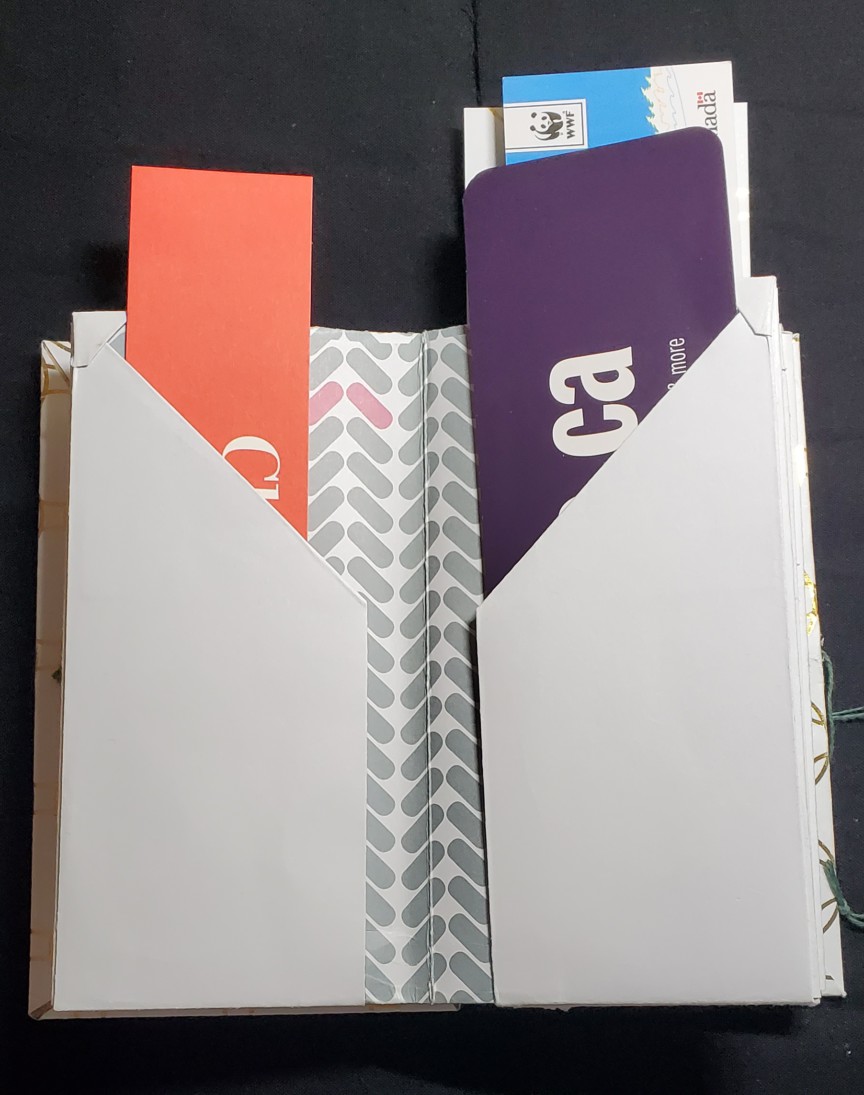 |
| Bookmarks in the pockets |
 |
| Closed Pocket Journal with the bookmarks |
What I learned
- It was great doing the sample journal before the "real" one, although I managed to make the same errors on both of them!😁
- The signatures were fairly simple to make, as well as the book cover. It was finishing up the journal with a button and string that got me!
- My cord on my first journal was too thin and didn't go all around the journal. When I changed it, I managed to put the signatures upside down.
- I figured out the hard way, why the cord needs to be wrapped around the journal. If you don't, since the journal is reversible, it just opens up from the back!!!
- For my bookmark pocket journal, I got carried away and stuck the cover to the front signature before putting the button in place. I was able to put the button close to the edge and did the same thing with the back, so it doesn't really show. I did cover the front pocket with more cardboard since I managed to get blood on it. The hazards of working with needles (which we know all about right?)
- I'm looking forward to picking up a couple more bookmarks for the journal. Hopefully I can wait for his birthday before I give it to him 😊
- I hope to write a post this weekend to share pictures of our trip. Stay tuned!
Related links
- Accordion book with 8 pockets
- Paper is a fibre too on Free Motion Mavericks, July 28, 2022
- Handmade Book Club
- Connecting Threads
Linking parties
I'll be linking up to several linking parties. Why not see what's going on out there? Peacock Party, TGIFF, Beauties Pageant, Off The Wall Friday, Patchwork & Quilts, 15 Minutes to Stitch,
Project Details
 |
Quilty recycled pocket journal
Size: 4½ " x 3"
Materials: photocopy paper, magazine images, cardboard, button and cord
 |
Bookmark pocket journal
Size: 5¾ " x 3½"
Materials: scrapbooking paper, cardboard, button and cord
Very fun journals! I really like the bookmark one, what a great idea.
ReplyDeleteThanks Kate, I'm really enjoy making these. I'm sure that the bookmark one will be useful and a good gift....I still haven't given it to him :-)
DeleteMagnifiques journaux, j'aime beaucoup le 2e pour ranger les marque-pages, quelle bonne idée ! Aïe, les aiguilles piquent autant, que ce soit du tissu ou du papier ;)
ReplyDeleteMerci Frédérique, oui, les aiguilles piquent autant - et je laisse souvent mon DNA sur mes morceaux! J'ai bien hâte de donner le 2e comme cadeau. Bises!
DeleteThese are fantastic. I didn't realise you'd made them until I read on :)
ReplyDeleteThanks Janine. It turns out that with the right tools and good instructions, that it's really not that difficult, and certainly doesn't take more time than embroidery - so a nice change of pace.
Delete