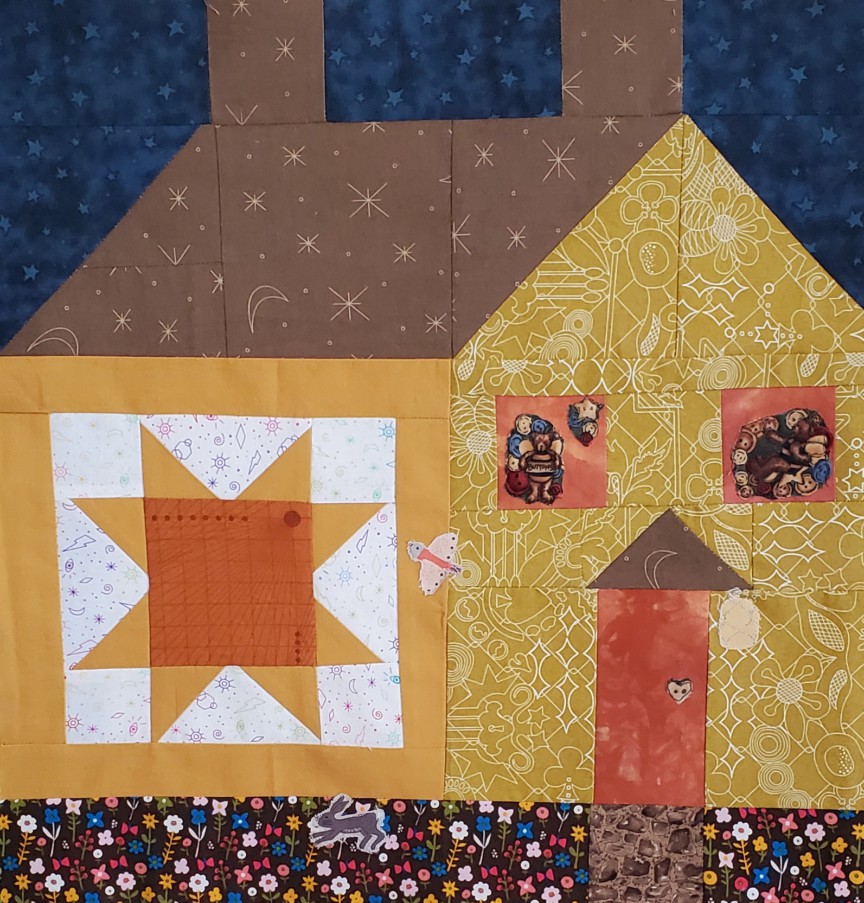
Hi and welcome to week 435 of Free Motion Mavericks. I've put in many, many hours this week getting my Rainbow Neighbourhood Houses assembled into a community 😊 It's looking good, even if many details need to be added and stitched on.
Flimsy assembled and mostly finished!
 |
| Rainbow Neighbourhood Houses quilt top assembled! |
I worked on the first row and then the third. It took me about half the time to finish the third row, since by then, I knew what I was doing 😊 You can't really tell from this photo (sorry, in the evening off the stairs railing), but each row is progressively wider! There are at least 3 inches between the width of the first and the third row.
 |
| Row 1 |
 |
| Row 3 |
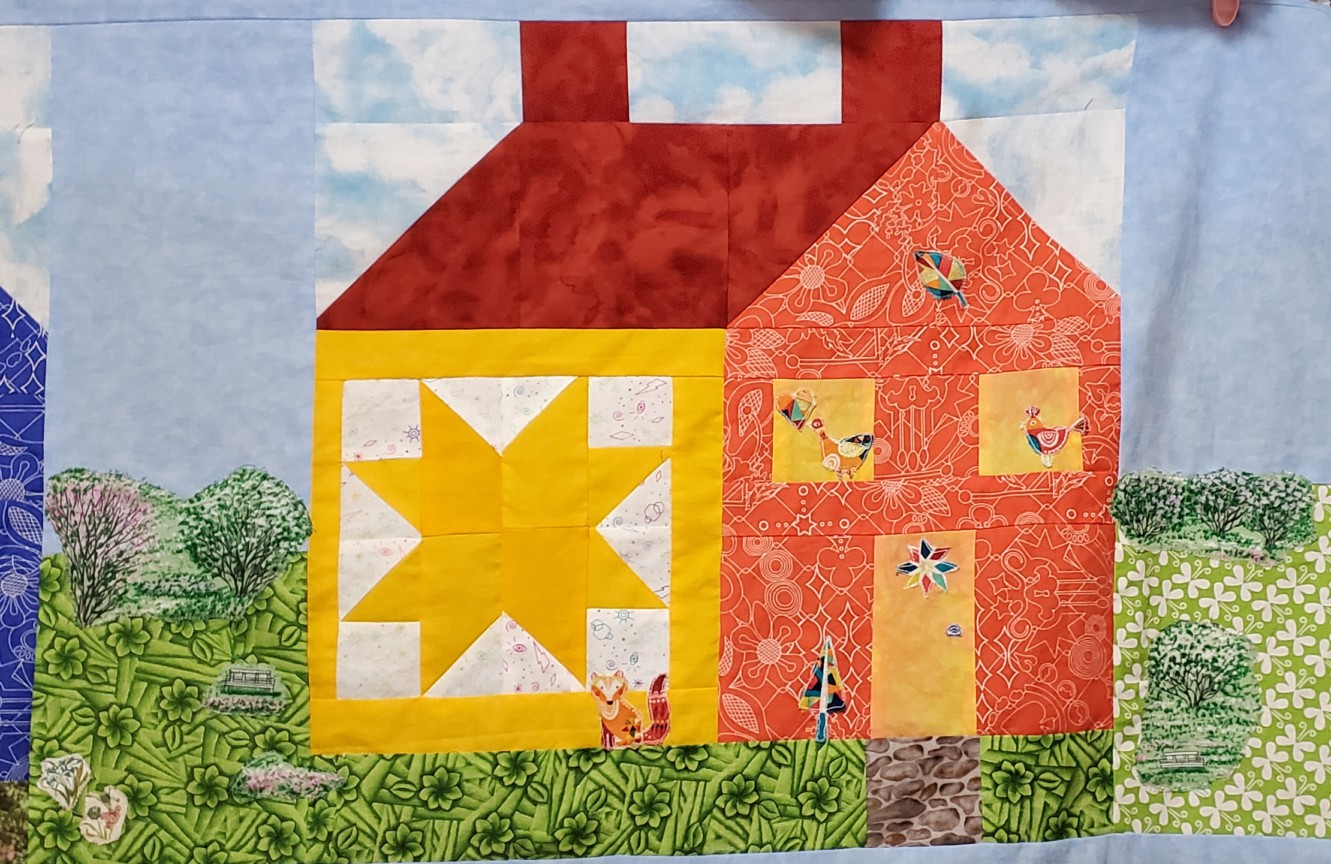
In the second row, I started by finishing my friends' home. I added a thin sliver of fabric on the other side of the door - it was bothering me too much! I used fusible webbing and stitched it down with a zigzag stitch. Once it's all quilted, it will look fine!
 |
| House with door fixed and a forest in the back |
I wanted to make the trees, and since I had recently done two wonky stars, I used the same technique to make the 4 trees. A couple of them are straight but the other two are quite wonky. It looks a little weird in the open like that but I'll be adding critters and plants, so it'll look fine!
Making Wonky Trees
Here's a quick look at how I made the trees.
 |
| Wonky Tree |
Start by folding your piece of fabric in two, so that you know where the top centre needs to meet. For this tree, I used a 3" x 3" square fabric, but it doesn't have to be square.
 |
| Fold your fabric to find the centre |
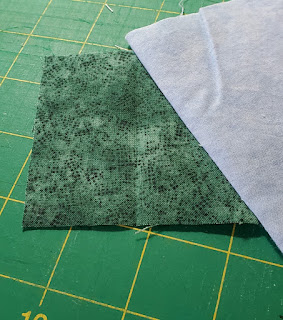
Get a piece of background fabric - if you haven't done this before, make your background fabric the same size as your green fabric. Once you've done this a few times, you can use small pieces of fabric.
Place your background fabric over your green fabric, facing each other, with your background covering the bottom corner going to the centre (see photo). Stitch.
 |
| Add your background fabric |
Flip your background fabric over. It should go from the centre top to the bottom right side.
 |
| Flip your background fabric and press. |
With the background fabric extended, turn the block face down and trim the background fabric around the original green block.
 |
| Trim the background fabric |
Take another piece of background fabric and cover the other bottom side to the centre. Sew it down.
 |
| Sew the second background piece down |
Flip the background fabric and trim. You can also trim the excess green fabric behind the background fabric.
Next comes a stump for your tree. You'll need a piece of background fabric the same width as your tree. Cut it in half at the centre.
 |
| Cut the background fabric in half for the stump |
Cut a piece of brown fabric for your stump. It needs to be the same height as your background fabric. The width should be a half inch wider than your stump to allow for your seams. Stitch the background fabric to both sides of the stump. Press.
Sew the stump to the tree tip. Press.
 |
| Add the stump to your background fabric |
Only use this method if you
don't mind having crooked trees....just like in nature. Otherwise, use Sandra's instructions.😁 Here are my wonky trees.
 |
| Wonky trees |
Adding extra elements in the second row
In the quilt design from my last post, you may have noticed a lake between the two houses in the middle row. I have the outlines done but details will be added both through appliqué and in the quilting.
 |
| Lake area |
Here's a close-up of the fabric - too cute!
 |
| Flower garden and then a path in the woods |
Right now there is only a lake, but it will have a beach, fish and a dock. There will also be other critters and plants around the gardens.
 |
| More flowers and a rock garden |
As you can see, I'll be spending the next few days adding details to the quilt top and then FMQ (free motion quilting) it.
I was able to get out between the rain, wind and smoke...here are some better pictures of my flimsy.
 |
| One flimsy ready to appliqué and FMQ |
 |
| Gotta love those backyard fence pictures 😊 |
What I learned
- I thought that I had tons of time to finish the flimsy, but that central part took a lot of time, mostly looking at my stash to see what fabrics I wanted to use.
- I'm looking forward to adding the fun stuff to the quilt.
- I will probably end up removing the excess fabric on the right side of the quilt - it will still be fine. I knew that I was accuracy challenged, but that's by a lot!
- I enjoyed making those wonky trees. They wouldn't get by the quilting police but it's all good fun!
- The next part, stitching down the appliqués and adding elements, is fun but I always struggle with what needs to be appliquéd before quilting, and what can be done while quilting. If you have any advice, I would appreciate it!
Related links
Linking parties
Free Motion Mavericks
Thanks to everyone who linked up 😊.
Gail had another finish for the Island Batik's June Challenge. Look at those great feathers among the 92 flying geese! You can get a
great look at Gail's feathers from the back of her topper.
It's now your turn.