
Hi, I hope that you are well and spent more time stitching that I did! More sorting in my studio meant that there were no surfaces left to work on - so I've been slow stitching in the living room but don't have much to show for it....it's very SLOW! 😊
Large Experimental Sketchbook
Two weeks ago, after finishing my first experimental sketchbook/journal (see Related links below), I decided to make a second larger journal. I just had to make a second book to try out the separate spine technique that Jennifer Collier demonstrated. I learned a lot, which I'll share with you.
 |
| Large experimental sketchbook with a separate spine |
In case you don't remember, here are both sketchbooks/journals. The first sketchbook had a flexible cover made from a donut box! This second sketchbook is made of stiffer scrapbook cardboard on one side and covered with decorated kraft paper on the inside.
 |
| Two experimental sketchbooks/journals |
So far, the journals that I've made have spines that are part of the cover, like the one in the smaller book above. You can see in the image below that the signatures (groups of pages) in this book are attached only to the spine of the cover. This enables you to add whatever type of cover you want, without having to make holes in it.
 |
| Signatures (or groups of pages) added to the spine |
In this image, you can see the spine as well as the front and back covers. I attached the covers to the spine with glue. It works very well!
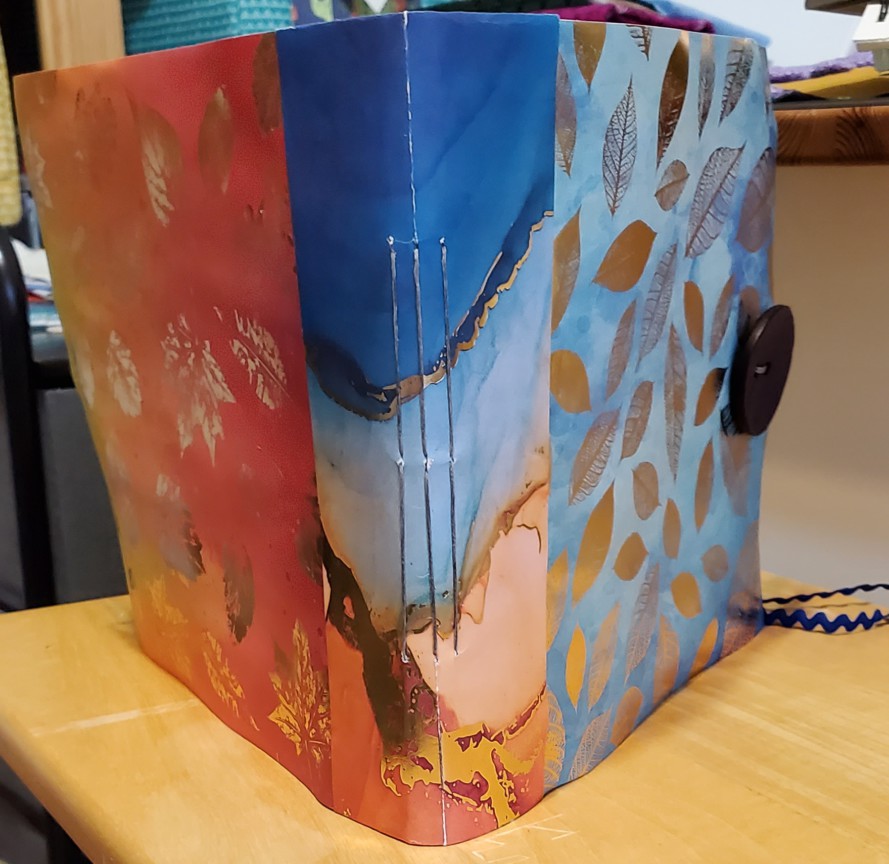 |
| The spine with the covers glued to it |
To make the journal closure, I used a great big button that I bought on sale at a yarn store. It's probably for a shawl or wrap. Isn't it gorgeous? I don't think that it's leather but it looks like it. I used a piece of blue ribbon to close it.
 |
| A big beautiful button to keep the book closed |
On the inside of the book, I was a little less creative than in my first sketchbook. That's because I spent most of my time having to create all of the pages since the papers I had were all too small for the size of the journal.
When making signatures, you generally fold the paper in half, so that you can attach the pages to the spine at the fold. Since you can't do that if the paper is not big enough to fold in half, I had to fold and then glue pages together. Sometimes the folds of both papers overlapped at the spine, like those below.
 |
| Two smaller pages attached together, with stitching to cover part of the glued sections. |
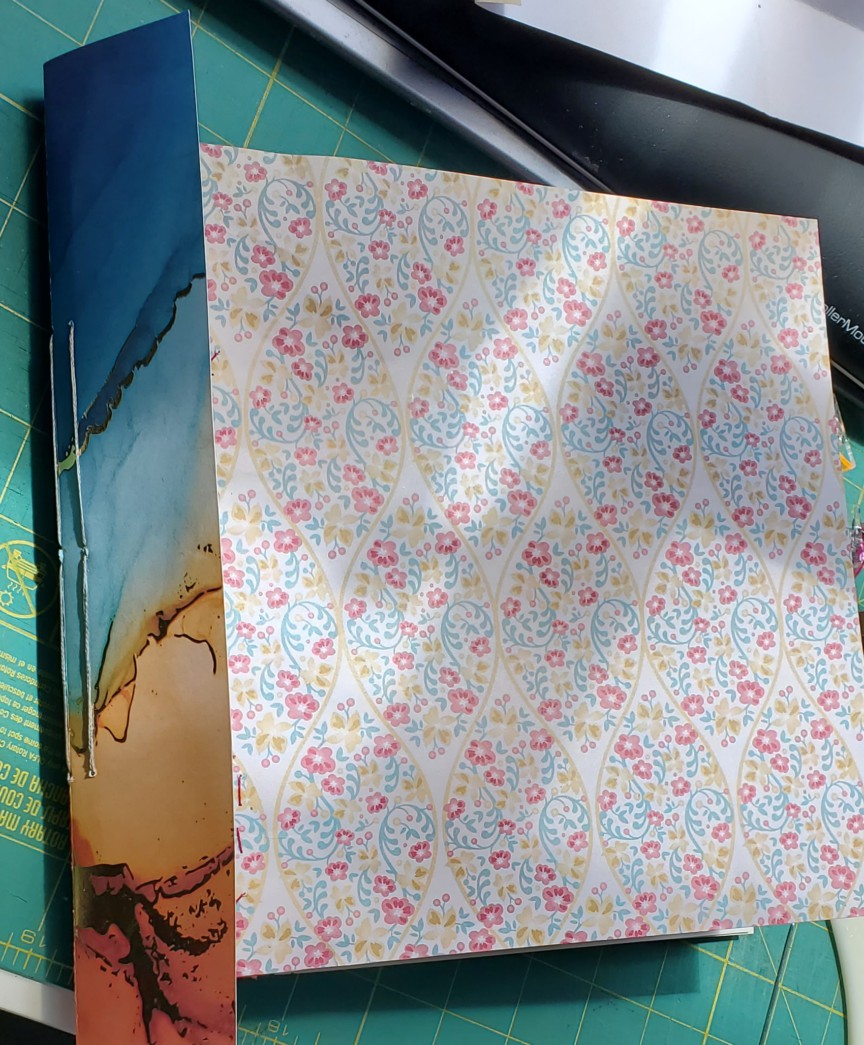
On other pages, I attached the paper to one side to make the second page. In the page below, there is one larger paper that is folded, to attach to the spine, while the other smaller page is glued on. I used pretty paper to decorate the glued part on the left, and just added another piece on the right.
 |
| Smaller paper attached to one side of the larger paper |
On the page below, I attached a photocopy of found music sheet and covered the glued part with more pretty paper. I also added some washi tape as embellishment.
 |
| Found sheet music attached to a larger piece of paper |
In two instances, I glued and stitched ribbon to cover the glued sections.
 |
| Ribbon added as embellishment and to keep the pages together |
On this page, I glued the first ribbon down and then stitched a second ribbon on top. You can also see that I added tabs at the front of each of the three signatures. To keep the tabs secure, I glued them on and then added a few stitches. On the other side, I glued a piece of paper over the stitching.
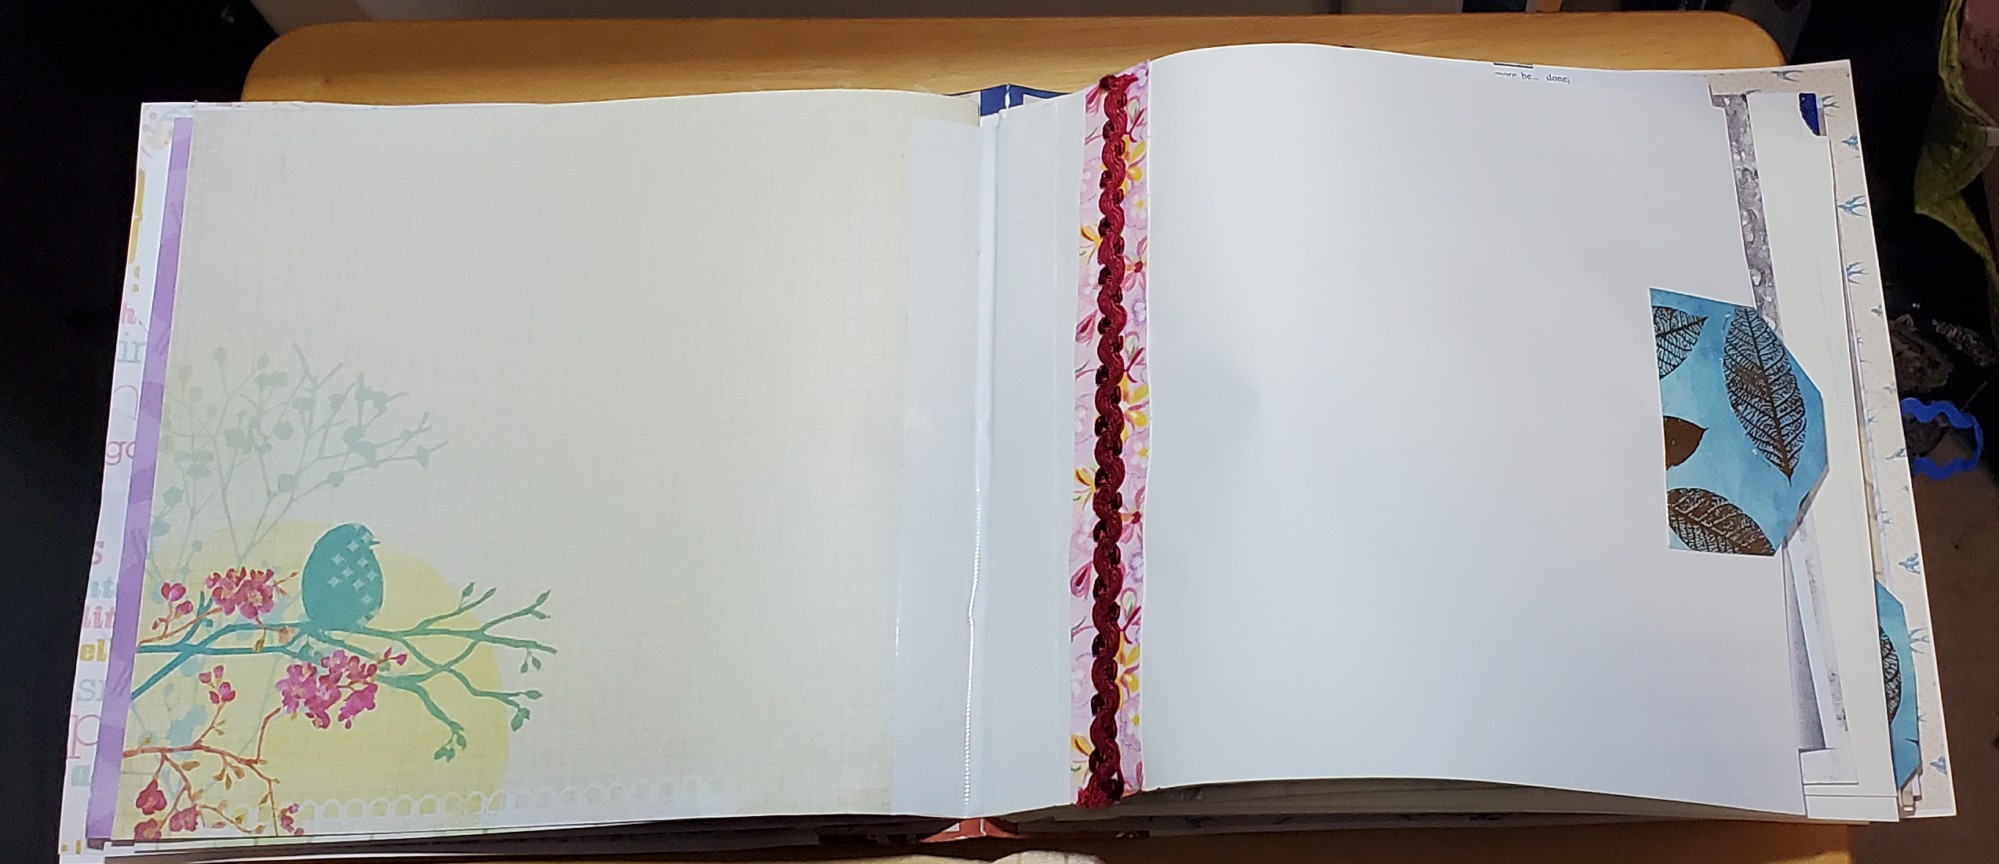 |
| Two layers of ribbon, glued and stitched. A tab added for each signature. |
I also added different types of pockets to add things. The pages below contain two pockets - one made of sewing pattern paper while the other one is made of a scrapbook page folded and then glued. This page is the only one that is smaller than the rest.
 |
| Pockets made with sewing pattern paper and scrapbook paper |
This is the other side of the scrapbook pocket. I've included a flyer of the Out of the Box (OOTB) Fibre Fling 2023 show as well as a paperclip that I added picot stitch to.
 |
Here is a closeup of the paperclip with picot stitch. Isn't it cute?
It's now your turn!
 |
| Closeup of the paperclip with picot stitch |
Finally, here is the page that was originally supposed to be the cover. It's from a sparkly gift bag! I didn't use it because it was much flimsier than the scrapbook paper. It does make a lovely adding to the journal.
 |
| Gift bag was too flimsy to use as a cover for this journal |
What I learned
- I've been experimenting with the larger format in the hopes of making one for my trip to Antarctica.
- I don't think that I want to spend all of my time gluing more pages together. It's more fun decorating pages than it is creating them, even if they include embellishments!
- I did make a larger Stitchers' journal, a couple of years ago, using large kraft paper. I just reviewed that post (see link below) and I had used washi tape to make larger pages. I think that very larger paper bags might be the solution for my trip journal.
- This time I watched the video again and prepared the spine properly (not too many holes!) It works so much better when you follow the instructions 😊
- I discovered that one of the papers that I was using for the signatures doesn't fold well when not on the grain. I had some ripping where the stitches were, so I added small strips of book tape. That stuff really is wonderful.
- I'll have to be more careful to fold on the grain when I can. It does make a difference.
- My only real issue when making this book was gluing on the decorative paper on the other side of the cover. It's very difficult to glue that much paper without getting air bubbles. I think that practice will help.
Related links
- Making an Experimental Sketchbook, May 12, 2023
- More Stitchers' Journals, February 11, 2021
Linking parties
I'll be linking up to many fun parties. Check them out after you've linked up below! Sew & Tell, Midweek Makers, Needle & Thread Thursday, Off The Wall Friday, Finished (or not) Finished Friday, Can I Get A Whoop Whoop?, Beauty Pageant, Peacock Party, Patchwork & Quilts,
Linking up to Tips and Tutorials on the 22nd
Free Motion Mavericks
We had some wonderful FMQ quilts last time, by experienced and new quilters. How wonderful! 😍
Donnalee finished quilting her second large quilt, Butterfly. What a beauty. She did a wonderful job and even had extra panels for a runner. Way to go!
 |
| Donnalee's lovely Butterfly finish |
Margo of MY Quilts and Crafts finished her Pantone Challenge quilt. It really is a beautiful modern quilt and quite large at 42.5" x 52". If you haven't read about it, head right over there!
 |
| The Pantone Challenge quilt by Margo |
Melva has finished the eighth and last quilt for her client - it's a lovely "Ribbon, Lace and Fancy" quilt. You can check out a close-up here or her post here. Melva has done an amazing job with all of the quilts.
 |
| "Ribbon, Lace and Fancy" quilted by Melva |
And last but not least, Gail of Quilting Gail made a wonderful quilt with the “Sandalwood” collection, designed by Kathy Engle for Kari Nichols of Quilting Renditions and the Wedge Star Tool. That must be one h... of a tool 😁. It's really a gorgeous quilt! Click here to see the back of the quilt and Gail's FMQ.
 |
| What Quilting Gail made with the “Sandalwood” collection and the Wedge Star Tool |
It's now your turn!
Tes carnets sont beaux, et c'est toute une technique pour assembler, plier, coller les pages ! Bravo, c'est réussi.
ReplyDeleteMerci beaucoup Frédérique. C'est effectivement toute une technique, mais ça me convient :-) Bonne semaine.
DeleteThat is a fun journal - and new ways to be creative! although it is a lot of work - I bet the organizing feels so good!
ReplyDeleteThanks Alycia. I'm happy to say that the recipient loved it!
Delete