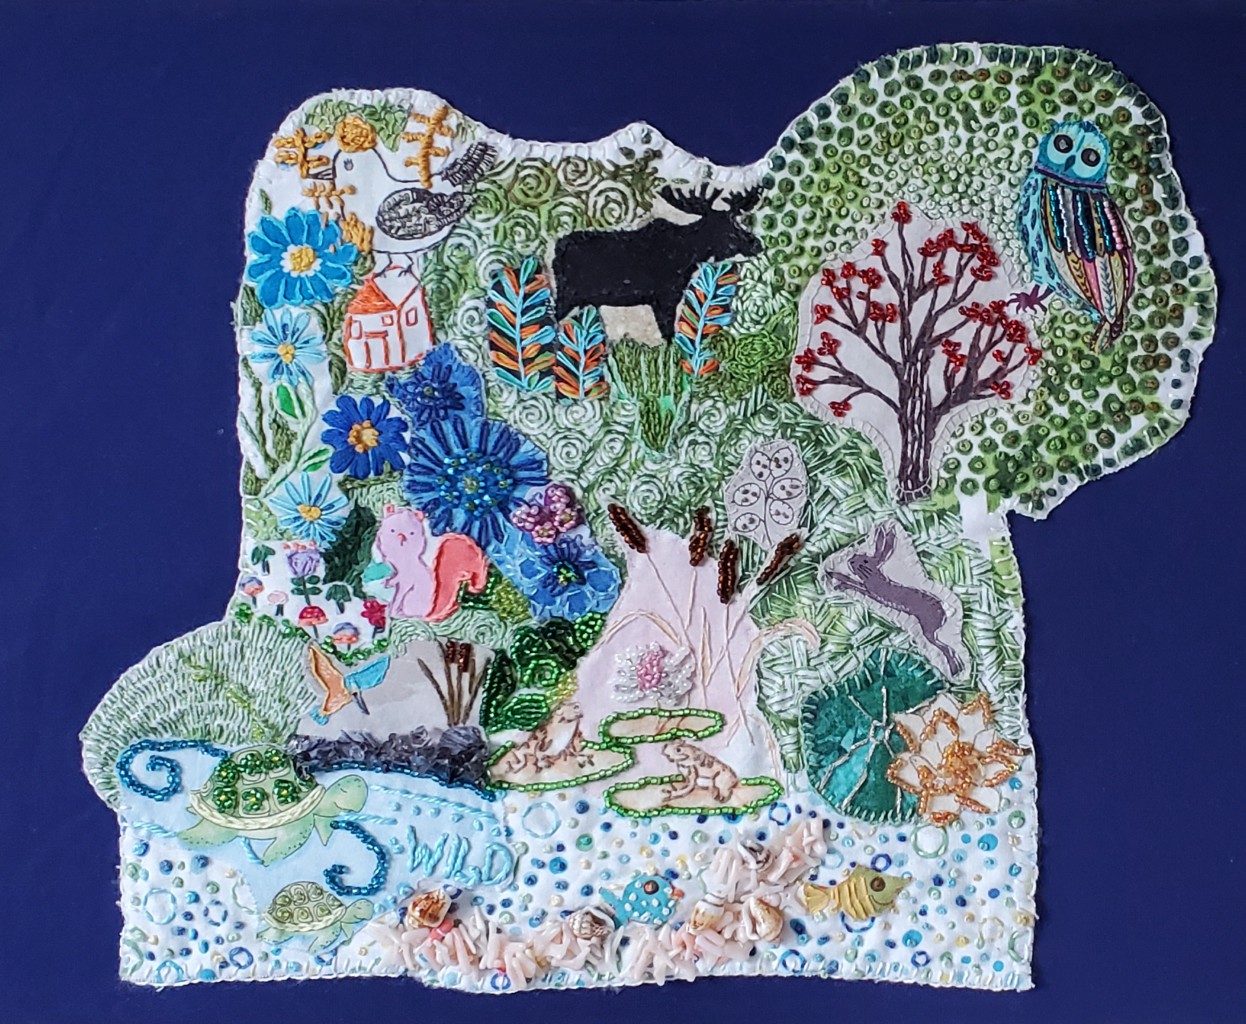
If you've been following me on Instagram, you've seen lots of images of the progress of this piece. Lately I've been adding a gazillion French Knots, finishing up the beading and then finally mounting it on a fabric-covered canvas.
Let Them Flourish - Ready for Exhibition
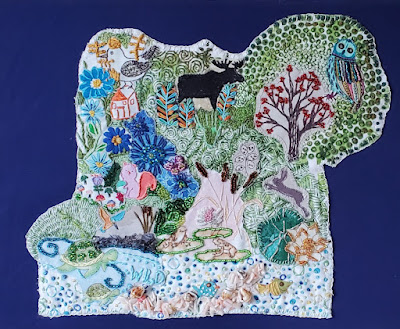 |
| Let Them Flourish (aka Biodiversity) |
In the Beginning
This piece started off as a fabric collage of images related to Biodiversity, the theme that was given to us as part of the February 2021 TextileArtist.org's Stitch Club workshop. Kate Tume, our instructor, had us exploring narrative potential with embellishment.
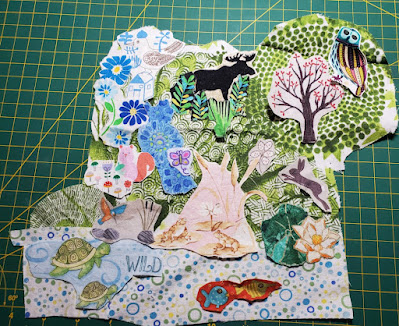 |
| The beginning of Biodiversity (working title) |
I attached the fabric pieces to batting using Heat n Bond Lite. From there I started stitching and beading. To say that it was slow going is a huge understatement. Again, not called slow stitching for nothing 😊.
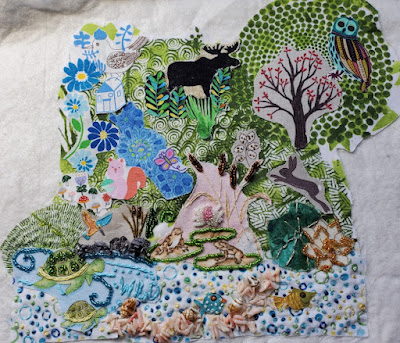 |
| Starting the embroidery and beading |
At some point I got tired of its slow progress and wondered off to other projects. I came back to it during my #100dayschallenge on Instagram. I would say that the majority of it got done between March and May 2022. It also helped that I had a deadline approaching - the Conversations exhibition with Fibre 15 (see related links below).
Towards the Finish Line!
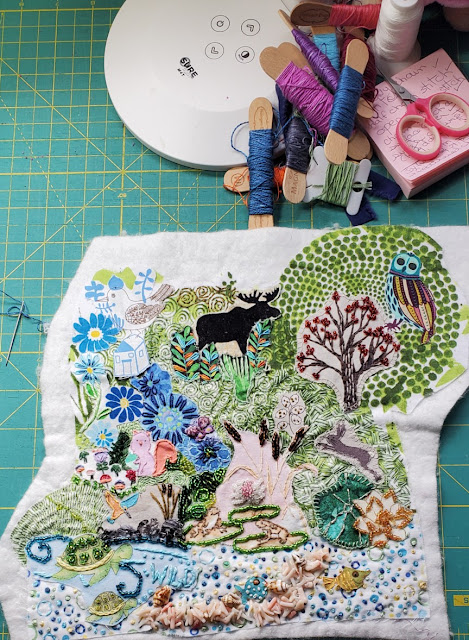 |
| I love using my own hand-dyed perle cotton 💙 |
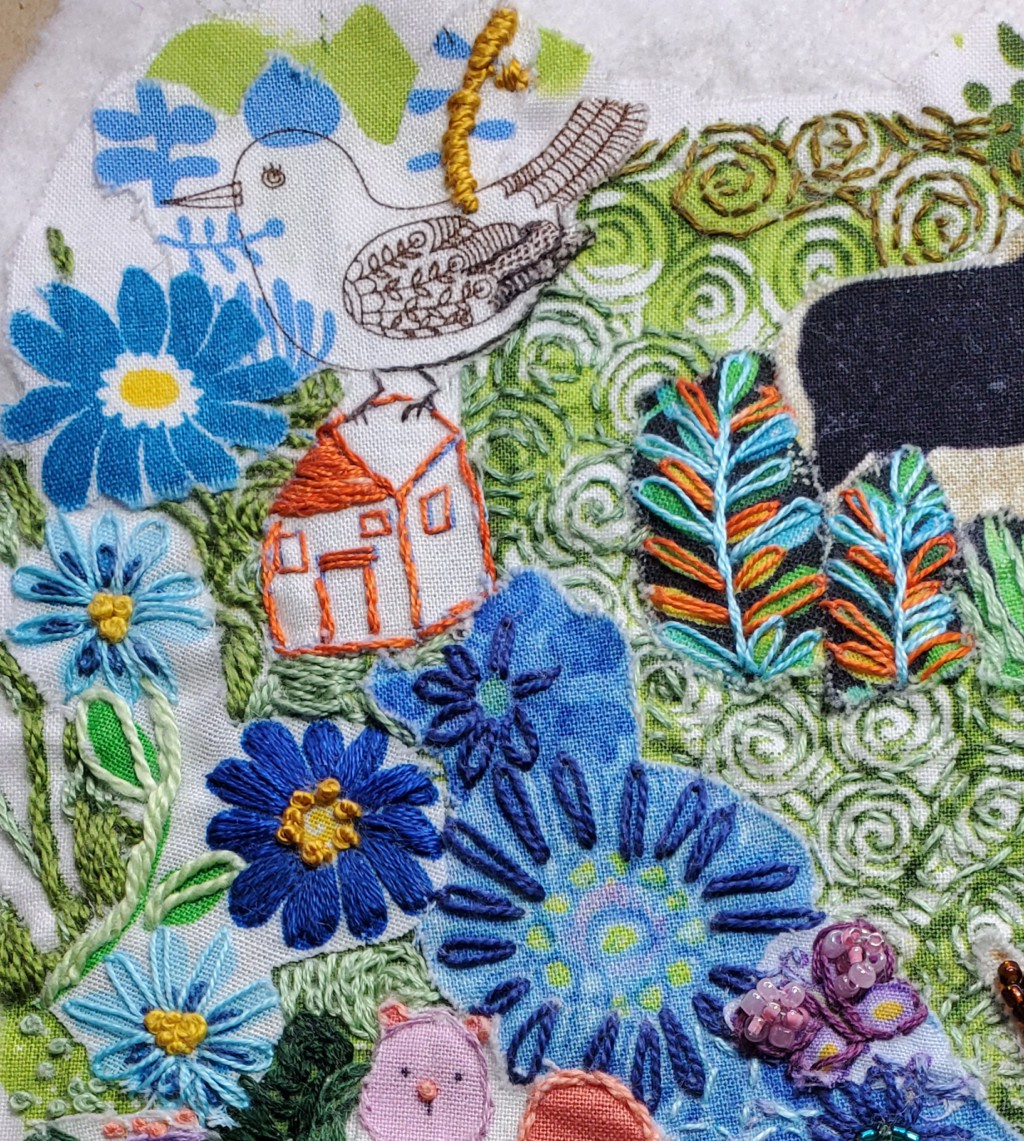
At one point I got bored and had an aha moment. I realised that I didn't have to embroider the images using the same colours that was on the fabric. Notice the house in the image below, which was printed in blue but covered in orange thread. I love that the blue peeks through. That was quite liberating!
😊 |
| Adding different colours than those on the fabric |
 |
The green embroidered background around the moose took forever -
I was seeing swirls in my sleep! |
I added a gazillion French knots around the tree. I knew by then that it would drive me crazy, so to keep it interesting, I used different shades of green and went roughly from light to dark.
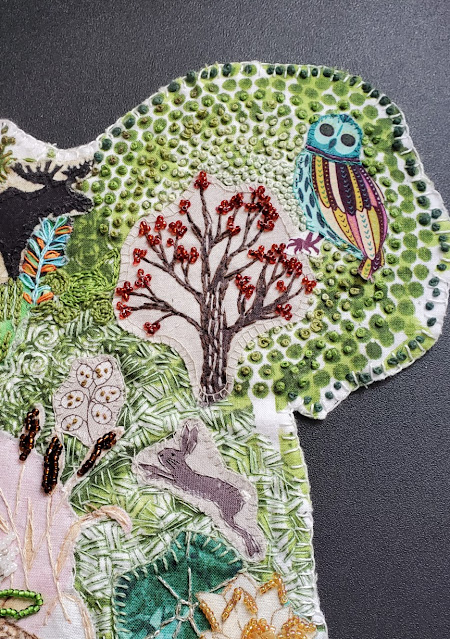 |
| So many French knots!!! |
I was worried about the owl - I wanted to add beads but wasn't sure how much. I found out fairly quickly how much was "too much"! I was going to bead every other line but got mixed up and ended up beading all of the lines. It wasn't really bad but it made the owl the focal point, which is not what I wanted.
 |
| Too many beads.... |
 |
| Just the right amount of beads 😊 |
I used sewing thread to lightly embroider various parts of the owl.
Finishing up!
Finishing up involved covering a 14" x 11" canvas with fabric and then attaching the piece to the canvas. I used Sulky's Invisible thread since it was clearer than the other kinds I have. I wasn't able to make a knot at the end of the thread, so I left a long tail and then after taking the next stitch, tied a knot at the back.
I just put in a few pins through the canvas to keep the piece from shifting as I was sewing it down. I stitched around the edges but also within the piece to keep it securely in place. It was easiest to stitch behind beads.
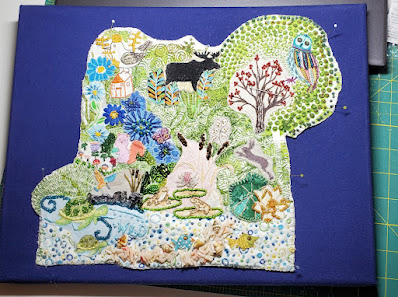 |
| Attaching the piece to the canvas |
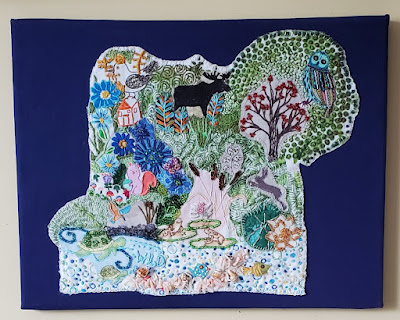 |
| Let Them Flourish |
What I learned
- I learned that this technique is called textile collage. This is probably my favourite technique of all times. I've used it a few times to make some of my favourite pieces. I'll include links to my favourite ones in Related links below.
- I love being able to add bits and pieces of fabric to tell a story or show a moment in time.
- The hardest part is probably leaving reality behind since there is no way to keep the actual perspective real since the elements come in the size that they are on the fabric! I love that whimsical part of it.
- I'm glad that I figured out that I don't have to use the same colour as the background image to embroider. It adds a different look when using a different colour and having the original fabric colour peek through.
- I realised that I need to change things up to keep me interested. What's not to love about many shades of green instead of just using one?!
- I really got to know my threads - there's nothing wrong with embroidering with regular sewing thread if you just want a small accent of colour and texture.
- A bonus is that the technique almost always needs the little bling of beads 😊
- It's always a slow project, even if using FMQ but it's usually well worth making. I'm making myself finish this one before I start another one - it would be too easy to get sidetracked at this point!
 |
|
Related links- Embroidery & Beads for Slow Sunday Stitching, March 07, 2021
- Stitching procrastination, April 17, 2022
- Kate Tume
- Kate Tume: Activism and embellishment, article on TextileArtist.org
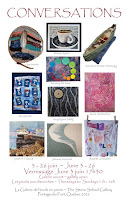
- Conversations - Fibre 15 Exhibition, May 13, 2022
- Art Collage Projects
- Best and Worst of Times, November 23, 2021
- Fairy Tales Blog Hop, June 22, 2021
- FMQ a mini on Free Motion Mavericks, August 20, 2020
- Gaïa's Garden, June 26, 2019
- Welcome to Our House, September 12, 2018
- Morning has broken - Art with Fabric Spring 2018, May 21, 2018
- Today We Celebrate - Fêtons 150, July 01, 2017
- Art Quilt Practice Pieces, May 15, 2016
- A Small Fantasy Art Quilt, July 10, 2015
Linking parties
I'll be linking up to many fun linking parties. Remember to visit Muv to link up to Free Motion Mavericks this week! Put your foot down, Off The Wall Friday, Finished or Not Finished Friday, Peacock Party, Beauties Pageant, TGIFF, Patchwork & Quilts, Oh Scrap!, Slow Sunday Stitching, 15 Minutes to Stitch 2022, Monday Making, Design Wall Monday, May's Favorite Finish Monthly Linkup
Project details
Let Them Flourish
Workshop with Kate Tume through TextileArtist.org
Attached to a 14" x 11" fabric-covered canvas
Materials: commercial quilting cotton, beads, shells,
metallic, embroidery, sewing thread and perle cotton
Techniques: collage, embroidery, beading