Showing posts with label Kimono Silk Thread. Show all posts

Wednesday, August 07, 2024

Learning Tibetan Appliqué on Free Motion Mavericks

Hi and welcome 😊 I'm so happy that you've dropped by. There has been lots of learning going on - so it's a good week. The weather is cooperating and I'm spending time in the backyard - more enjoying than working in it, but it's all good!
 

Tibetan Appliqué


If you're wondering what is Tibetan Appliqué, you're not alone. I had never heard of this amazing art until I took Leslie Rinchen-Wongmo's workshop in Textile Artist's Stitch Club last week. It's a very ancient art which actually starts with making cording from horse hair! No, I didn't quite get into that. I don't think my poor hands and wrists could handle it! Thank goodness for alternatives.

The first piece of couched embroidery

During the first week, we drew our image onto stabilized silk. Then we couched the cord following the lines of our image. I used hemp cording that I bought locally. There weren't many colour options. These cords are used mostly for making bracelets. 

Couching the hemp cording onto the silk fabric

For the Further Development part of the workshop, we create a composition with other couched pieces on silk. Then we cut these out, finish the edges of each piece and eventually stitch these down to create the appliqué piece. 

The finished butterfly and the other silk pieces with patterns on them.

The stitched leaves are ready to finish by turning the edges

As I reviewed Leslie's work to write this post, I realised that there are no double lines of couching in her pieces. I don't think that I can removed the second line of couching in the fuchsia flower without it showing, (so I'm just not going to do that again! )😁

I've finished stitching the leaves. I used three different types of cording - one was the hemp cord, one was a heavier jute cord that really worked well and the other was perle cotton that I doubled. Now I know the difference. The perle cotton is squished down by the couching. It looks OK but I understand why cording is better. I love having an excuse to use my silk thread - it does a wonderful job of couching. 

I'll be putting all of these together when each piece is couched and the edges are prepared.

Hemp, jute cording and perle cotton used as well as matching silk thread

As well as being an artist and teaching this wonderful art, Leslie wrote a book about her experience. She spent 9 years with the Tibetan people in exile in India, volunteering and eventually as an apprentice to masters, learning to make fabric Thangkas. She wrote a book which is amazing - easy to read and so insightful. If you don't read her book, I recommend that you at least see some of her work on her website (in Related links below).

Threads of Awakening by Leslie Rinchen-Wongmo

August's One Monthly Goal (OMG)


With a few hours to spare, I'm linking up to the August OMG link-up. By the end of August, I will have started putting together the "Healing Waters" panels quilt for my hubby. I'm not sure how much I'll get done but even pulling out and sewing up a few wonky strips would be a good beginning 😊

August's OMG - working on "Healing Waters" panel quilt

What I learned
  • It's taken me longer than usual to work on this project because I've spent a lot of time reading Leslie's book. 😊 (I'll be giving it 5 🌟!
  • It's pretty obvious that cording is better than perle cotton.
  • It turns out that there are lots of different types of cording. What I'll use mostly depends on the colours that I can find.
  • It's important to leave enough space between pieces so that they can be turned under. That's why the leaves are two different shades of green!
  • I was lucky to be given a large bundle of silk fabric already backed by stabilizer. These were originally obtained by cutting up silk blouses and such. You never know when you'll need them 😁
  • I'll be finishing up the flower soon and then will start to prepare the fabric for stitching together. I guess you'll see how that goes in a future post. It's been much more difficult to turn the edges under - probably because I have a tooth/sinus infection that's making me very cranky and not at all patient. I expect to be on penicillin on Monday and will start to feel better (except for my stomach!) 
  • It was a great workshop and I hope that you take the time to visit Leslie's website to see her amazing art.
  • I've been wanting to start on the panel quilt but everything seems to push it off the top of the list. I think that I'm nervous about it and procrastinating. It won't be difficult and if it's off, then the seam ripper is my friend!
Related links
Linking parties

Free Motion Mavericks


We've had an incredibly busy linking party last week. Thanks so much for linking up! This is week 493 and we have many lovely quilts that included FMQ, ruler work or walking foot quilting to feature!

Quilting Gail had a few lovely quilts in the post that she linked up. Here is Julie's Quilt as well as her lovely "There She Blows", created for the Something Smells Fishy blog hop.  

Gail's lovely Julie's Quilt

Gail's There She Blows quilt

Preeti of Sew Preeti Quilts had a quilt pattern published once more. This beauty is Fireworks in Issue 59 of Make Modern Magazine. 

Fireworks in Issue 59 of Make Modern Magazine

We have Tula Hexies by Gretchen. What a lovely hexie quilt!

Tula Hexies by Gretchen

Gretchen didn't FMQ her orange peels. She marked them onto her quilt and sewed them. There are many ways of quilting your quilts!

Details of the quilting on Gretchen's Tula's Hexies 

Kat of Scrapbox Quilts finished her yellow Lima Twin Quilt. She FMQ it with overlapping circles. It's very effective!

Kat's Lima Twin Quilt. with overlapping circles

Sally from Crafts, Cavies and Cooking diligently worked to a deadline to get her "Birds of a Feather" quilt done. The quilt is really stunning, including the back! You'll want to check out her post to see details of her FMQ.

Sally's "Birds of a Feather" quilt

The back of Sally's "Birds of a Feather" quilt

Deb, the Scrappy Quilter, finished quilting a number of quilts in July. My two favourite are her two wonky log cabin quilts. The log cabin in scrappy fabrics really pops on her black background. I love her border for the second quilt.

Deb's variation on a wonky log cabin quilt

Check out the border on Deb's wonky log cabin quilt

Kathleen McMusing may have used her longarm to finish her Diatom Quilt but since she created some of her own quilting patterns and that it was very custom quilted, I wanted to feature it here. It really is stunning. The pattern is from Quilting Jetgirl and was part of a QAL.

Diatom Quilt finished by Kathleen

Denise of the Quiltery has made a beautiful mini quilt, Nirvana as part of the Island Batik Mini Quilt Challenge. She writes about her FMQ in her post - you may want to read all about it!

Denise's Nirvana mini quilt

It's now your turn!

You are invited to the Inlinkz link party!

Click here to enter

Thursday, April 20, 2023

Fibre Fling and Free Motion Mavericks

Welcome to week 427 of Free Motion Mavericks. This week I'm busy getting ready for the annual Out of the Box (OOTB) Fibre Artists Group show. It's been virtual for the last two years so it's wonderful and a lot more work, now that it's live again.

Fibre Fling 2023


Fibre Fling 2023 is this week in Ottawa

See you at Fibre Fling 2023!

I have two pieced in the show this year, one of them you've seen a few times on the blog.

This first piece is still my favourite - Let Them Flourish. This was created through a workshop with Kate Tune for TextileArtists.org It has been exhibited but never at Fibre Fling.

Let Them Flourish

Let Them Flourish
details of the owl and French knots!

I finished this second piece with minutes to spare 😊. I must love living dangerously! This is the third embroidery that I made based on TextileArtist.org's workshop with Bethany Duffy. The other two embroideries were seascape. I loved the technique so much that I used a half-nut instead of a seashell. I just LOVE that adorable squirrel - he looks so mischievous (or stunned - either works for me!). 

Squirrel - finally finished 😊

I brought the unfinished piece to my last Fibre 15 group meeting and asked for advice on how to finish it. This is what it looked like at the time. I knew that something else was needed, or at least that there needed to be something in the top part. Everyone recommended that I extend the tree to cover most of the top. I really like it now.

The embroidery piece before fixing it


I finished it up this afternoon. There wasn't much work to do. I removed the "leaves", added a branch and more fabric on the tree bark for texture. I then added another section to the top of the tree. A few blades of grass helped to ground the tree. The squirrel and tree trunk hadn't been stitched, so I took out my lovely Kimono silk thread and finished it off 😊

Finished backing

The Light Beyond is in the Silent Auction, to raise funds for the Stephen Lewis Foundation and the Ottawa Food Bank. Hopefully it will do well.

The Light Beyond - to be auctioned


Update on Fibre Fling 2023

I spent most of the day at the exhibition. It was so good to see all of the art, the participants and talking with the attendees. 😊 Here are a few pictures to share.

So much beautiful textile art!

Doing a mindful stitching demo

Here's my Squirrel!


What I learned
  • Retirement has really messed with my perception of time.
  • I need to fill in my quilted calendar regularly because I was totally unprepared for Fibre Fling. I was sure that it was next week!
  • Even if I have blogged about a finished piece, it doesn't mean that it's ready for an exhibition. Labels, hanging sleeves or hooks and wire probably still need to be added. 
  • For instance, The Light Beyond, completed over a year ago, not only needed a label, hooks and a wire, it also needed to be permanently stapled to the frame. I had just used tacks! 
  • I have to admit that I'm supposed to have three pieces in the exhibition. This morning I sewed a hanging sleeve on my Courage piece (from Project Quilting 14-6). It was all ready....but I can't find it! Truly, I've looked everywhere in my studio and it's not here. I have no idea where it is, so it won't be in the show. Maybe I need to work on my mindfulness more.😒
  • Update - the missing courage has been found....hanging on the front of my studio door, over my winter quilt....I now have 3 pieces in the show!
Lost but now found!

Related links
Linking parties

Free Motion Mavericks


Check out these two very different quilts from our last party. 

Gail made her crazy quilt as a quilt-as-you-go and used her many, many lovely machine stitches. She had so much fun that the quilt is called A Kid in a Candy Shop!

Quilting Gail's Crazy Quilt for Aurifil

Melva is still working on her client's quilts. Her diagonal quilting is perfect for the quilt and I'm sure that the family will be very happy with all of them.
 
Melva's quilting enhances the quilt!

It's now your turn!

You are invited to the Inlinkz link party!

Click here to enter

Monday, August 22, 2022

Embroidering a seascape

I've finally gone back to TextileArtist.org's stitch club. There are so many new wonderful workshops and never enough time 😊

Stitching a seascape

The latest workshop is with Bethany Duffy. Her workshop is about using seashells (or other found objects) and incorporating them into an embroidery. I really love her work (see Related links below).

By the sea

I started with two pieces of light blue hand-dyed fabric and a 4" embroidery hoop. The shells that we use need to have a hole in them to stitch through. That was actually difficult to find! I searched through all of my shells and found two since we generally collect unbroken shells.

My collection of shells in my hand-made bag.

After finding the perfect shell, I added three layers of padding using left-over batting. This helps give it a cascading effect. Then I started stitching, and stitching! There are a lot of long and short stitches. I ended up using two dark blue embroidery floss, then two light blue and finally a very light blue-green for the edge.

Adding padding to the shell

Once I finished stitching the first shell with short and long stitches, I added loopy French knots at the edge, like sea foam.

Finished stitching on the shell

Since there was still a lot of space left in the loop, I thought of adding another shell but then remembered the small bag of sea treasures that my niece and sister-in-law brought back from Prince-Edward Island this summer. There was a perfect little piece of driftwood that would be a great addition.

I added the padding in front of the driftwood but only attached the driftwood once the stitching was completed. You can faintly see the brown silk thread that I used to attach it. I was going to add glue under it, but it seems secure enough.


Driftwood attached with brown silk thread

What I learned

  • It was so enjoyable stitching the sea through the shell. 
  • I'm really glad that the driftwood seems to be quite secure.
  • I learned that adding padding in embroidery is called stumpwork. It gives it a 3D look.
  • I want to learn shisha mirror embroidery since my sea treasures were mostly pieces of sea glass. I would love to add this to my next piece....yes, I really hope to make many more of these 😊
  • I was hoping to give this first piece to my niece who is now studying in Denmark. I didn't get it done on time, so maybe she'll have many to choose from when she's back at Christmas.

Related links

Linking parties

I'll be linking up to many fun linking parties this week. You may want to check them out! Monday Making, Design Wall Monday, Free Motion Mavericks with Muv this week, Patchwork & Quilts, Off The Wall Friday,  Put your foot down with True Blue QuiltsPeacock Party

Project details


By the sea
4" embroidery hoop
Materials: hoop, shell, driftwood, hand-dyed fabric, batting, embroidery floss and silk thread.
Techniques: stumpwork embroidery, long and short stitches and French knots


Thursday, March 24, 2022

A Finish on Free Motion Mavericks

Hi and welcome to week 374 of Free Motion Mavericks. Today I have a finish to show you as well as a tiny bit of FMQ on the Version 2.0 quilt.

"Bonjour la vie" is finished!

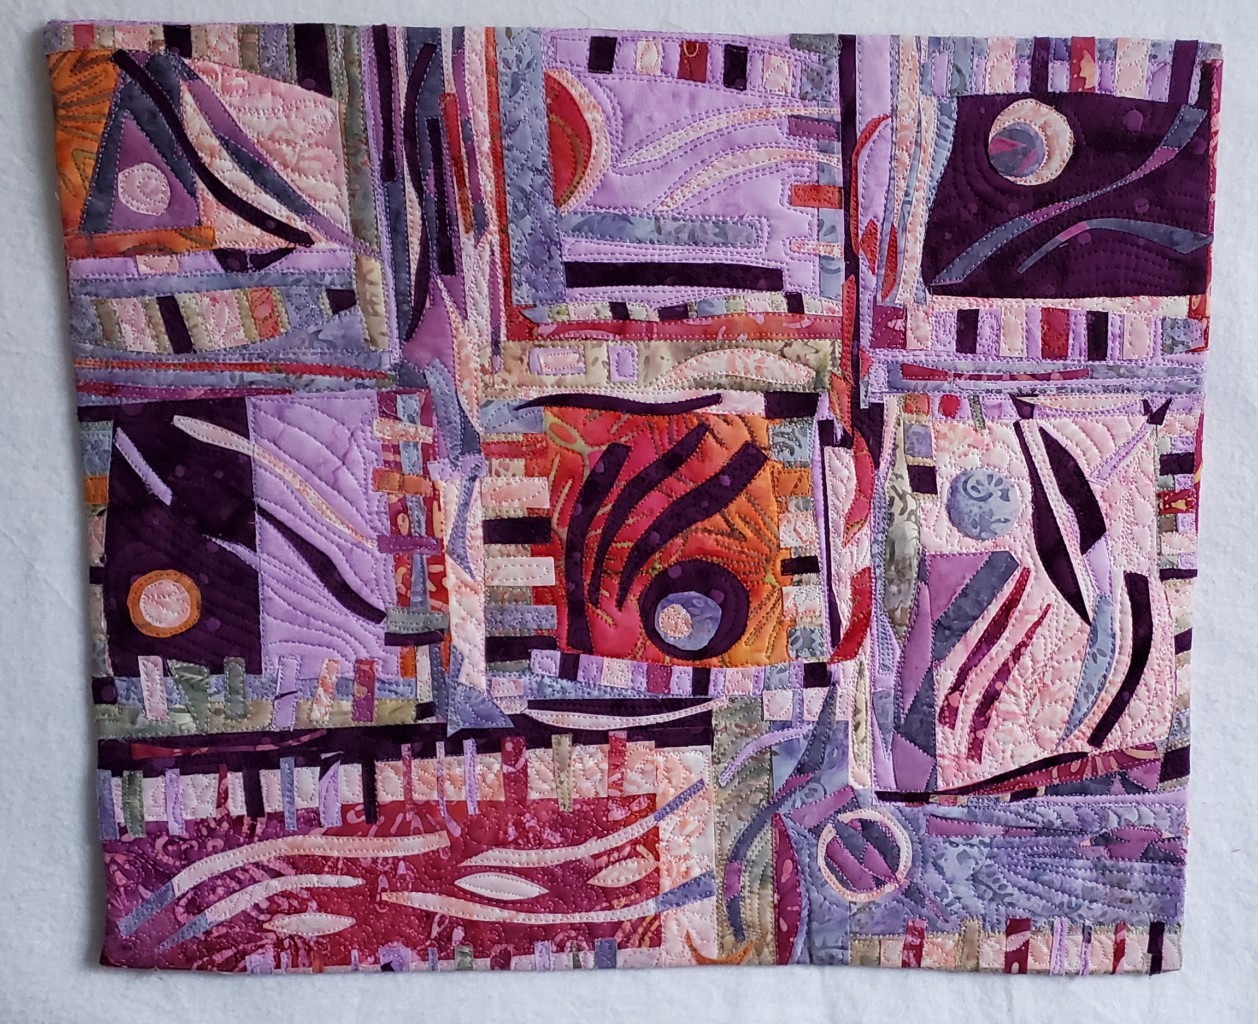
This piece is from a workshop taken with the Common Thread Quilt Guild (CTQG) in Ottawa. We had a virtual Fantastic Fusion workshop with Lisa Walton from Australia. I loved the workshop and I'm thrilled that this piece is now finished.

Bonjour la vie!

It was my February One Monthly Goal but I didn't quite make it. The free motion quilting (FMQ) was pretty much done by then but I didn't have the facing done to officially call it finished.

The colours of these batiks are so vibrant. My images aren't as vibrant as the real thing - I may have to invest in a photographing light or two. I'm including a few pictures taken with different lighting. There's no outside shot option right now as it's drizzling and cold out. The snow is at it's worse - mostly grey and dirty but it will all be gone by the end of the week. Youppi! 

Image taken when it was sunny outside

A detail shot of my favourite block.

It's hard to imagine but the colours of the block are even more vibrant than this photo! 

I also want to show you the back since it's almost as gorgeous (in another way) as the front! All of the different colours of Kimono silk thread vibrate from the back! I was going to use a fancier backing but after doing a mini just to see how the thread would do, it was pretty obvious that a busy fabric was wasted at the back of this piece. Again, I tried all kinds of lighting to show off the thread from the back, but nothing ready did it justice, so you'll just have to take my word for it! 😊

From the back - wonderful thread colours

Mini to practice with the silk thread

Back of the mini


Free Motion Quilting on Version 2.0

I expected to be able to spend yesterday afternoon FMQ Version 2.0 but I slept through it after I was put under for some dental surgery. Happy news, my teeth are as good as can be, bad news, no FMQ except for the little bit of extra quilting I did last time, after the post.

Biking as one of the sports

Bike from the back of the quilt


What I learned

  • The "Bonjour la vie" piece is going to a girlfriend who has just retired. Bonjour la vie means Hello life - how she greets every day as she wakes up. I love the way that she is open to what life brings her. I'm working on doing that too (but when I wake up, I just want to go back to sleep!)
  • This piece will be part of the virtual exhibition for Fibre Fling 2023, presented by Out of the Box Fibre Artists. I'll let you know when it happens so that you can all attend the free virtual show! 😊

Related links

Linking parties

I will be linking to some great parties - why not visit some of the links...and remember to link up your post also! Midweek Makers, Put your foot down, Needle & Thread Thursday, TGIFF, Off The Wall Friday, Finished or Not Finished Friday, Beauties Pageant, Peacock Party, Patchwork & QuiltsMonday Making

Project details


Bonjour la vie
Created in a Fantastic Fusion Workshop with Lisa Walton
Materials: transfer web backing, batik fabric, Kimono silk thread
Techniques: improv design and free motion quilting (FMQ) 


Free Motion Mavericks

We had some lovely quilts link-up last time. Karin at the Quilt Yarn, did some edge to edge quilting using a template that she copied onto Golden Threads paper while Gail used Silly Moon's Drop ruler to FMQ. Also, Denise used her embroidery machine to make this beauty! If you didn't see their posts, go have a look!

Karin using Golden Threads paper 


Gail using a Silly Moon ruler


Denise using her embroidery machine

It's now your turn to link up!

You are invited to the Inlinkz link party!

Click here to enter